The Southern Rockwall
Great loop in the Canadian Rockies

We had originally planned to hike the famous Skyline trail in Jasper National Park this September, but due to the wildfires, we had to switch to another multi-day hike in the area. Fortunately, we were able to find last minute availability for the popular Rockwall trail in Kootenay National Park, just a couple hours from Calgary where we were staying.
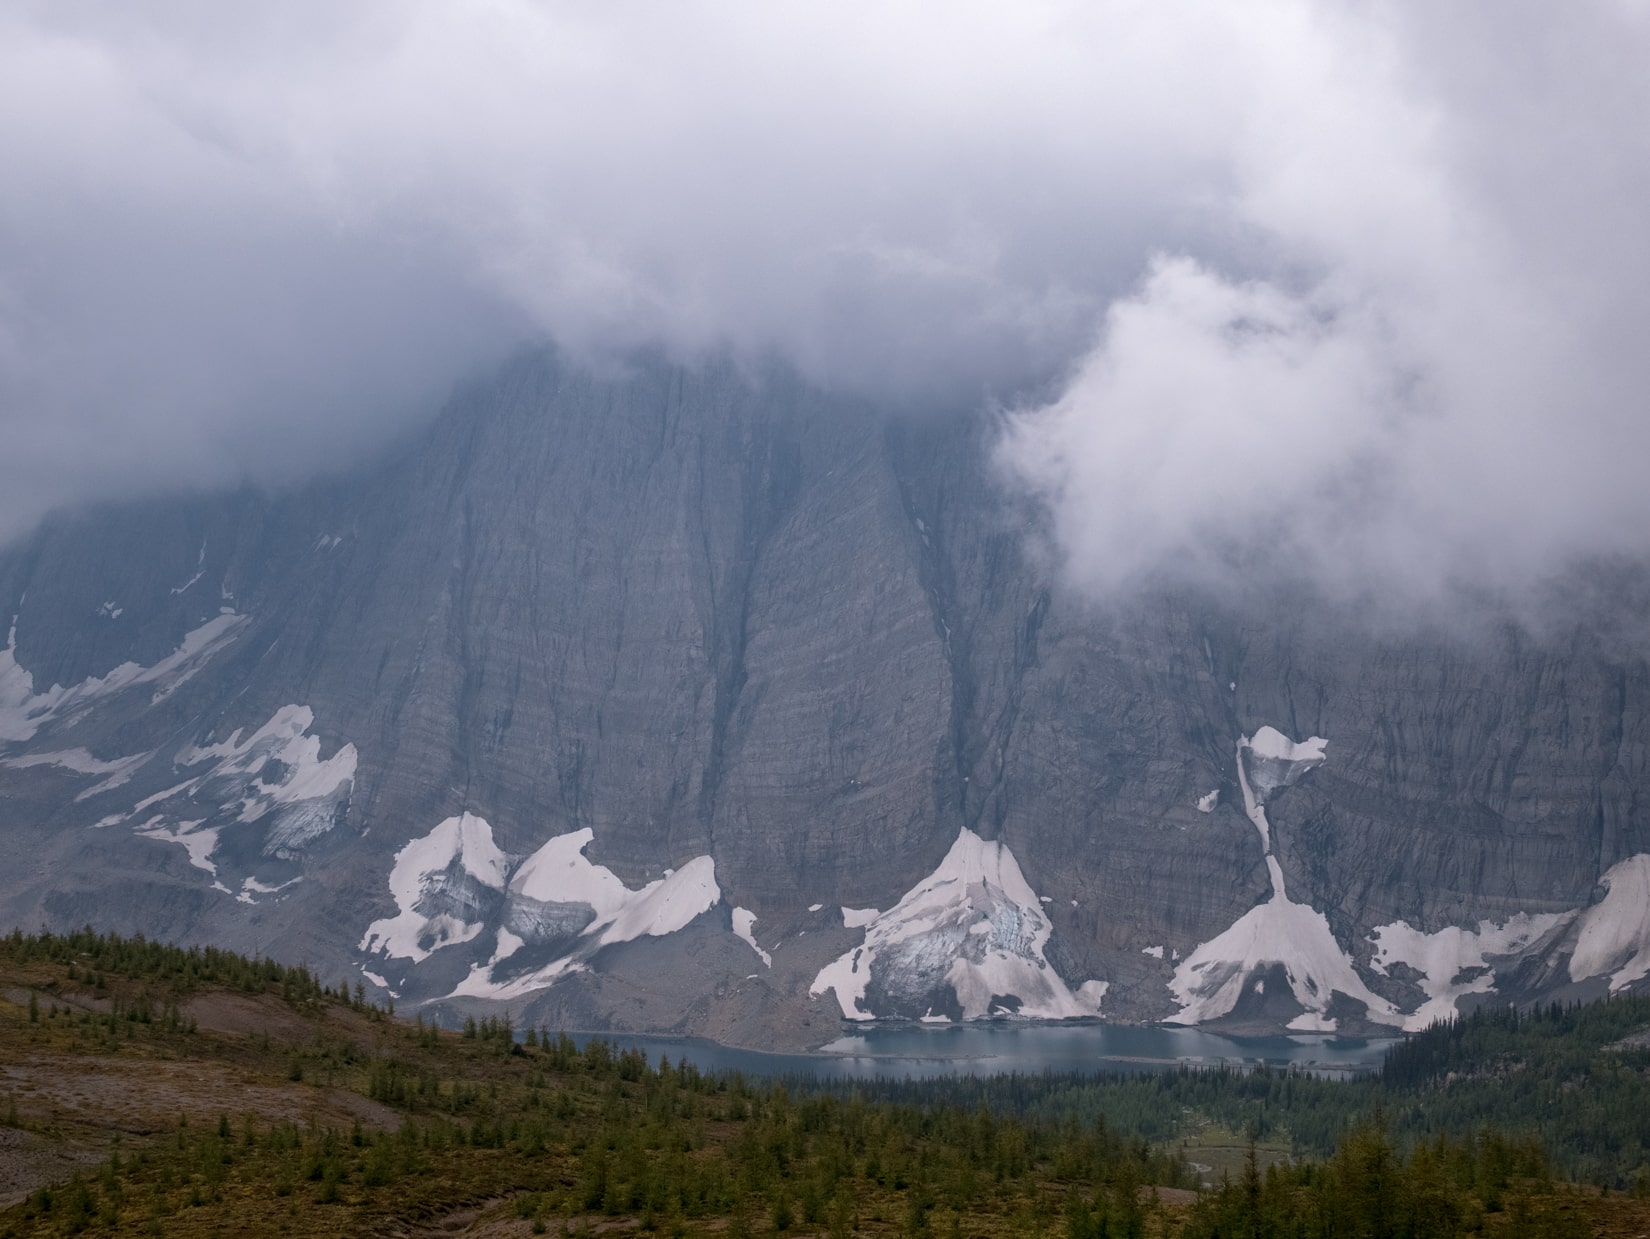
The Rockwall is a trail that is typically done over 4 or 5 days and spans three mountain passes with beautiful views of the namesake feature: the Rockwall, a vertical sheer wall that seems to stretch on forever.
Since we only budgeted time for the Skyline, which is a 3 day trail, we opted to hike an abridged version of the Rockwall trail, which Parks Canada calls the “Tumbling - Floe loop”. This trail hits many of the highlights of the Rockwall trail while cutting some mileage. This trail report is for this abridged version of the loop, so I did not get to visit Helmet Falls and the northernmost side of the loop.
The highlights
- Hitting Floe Lake, a beautiful alpine lake
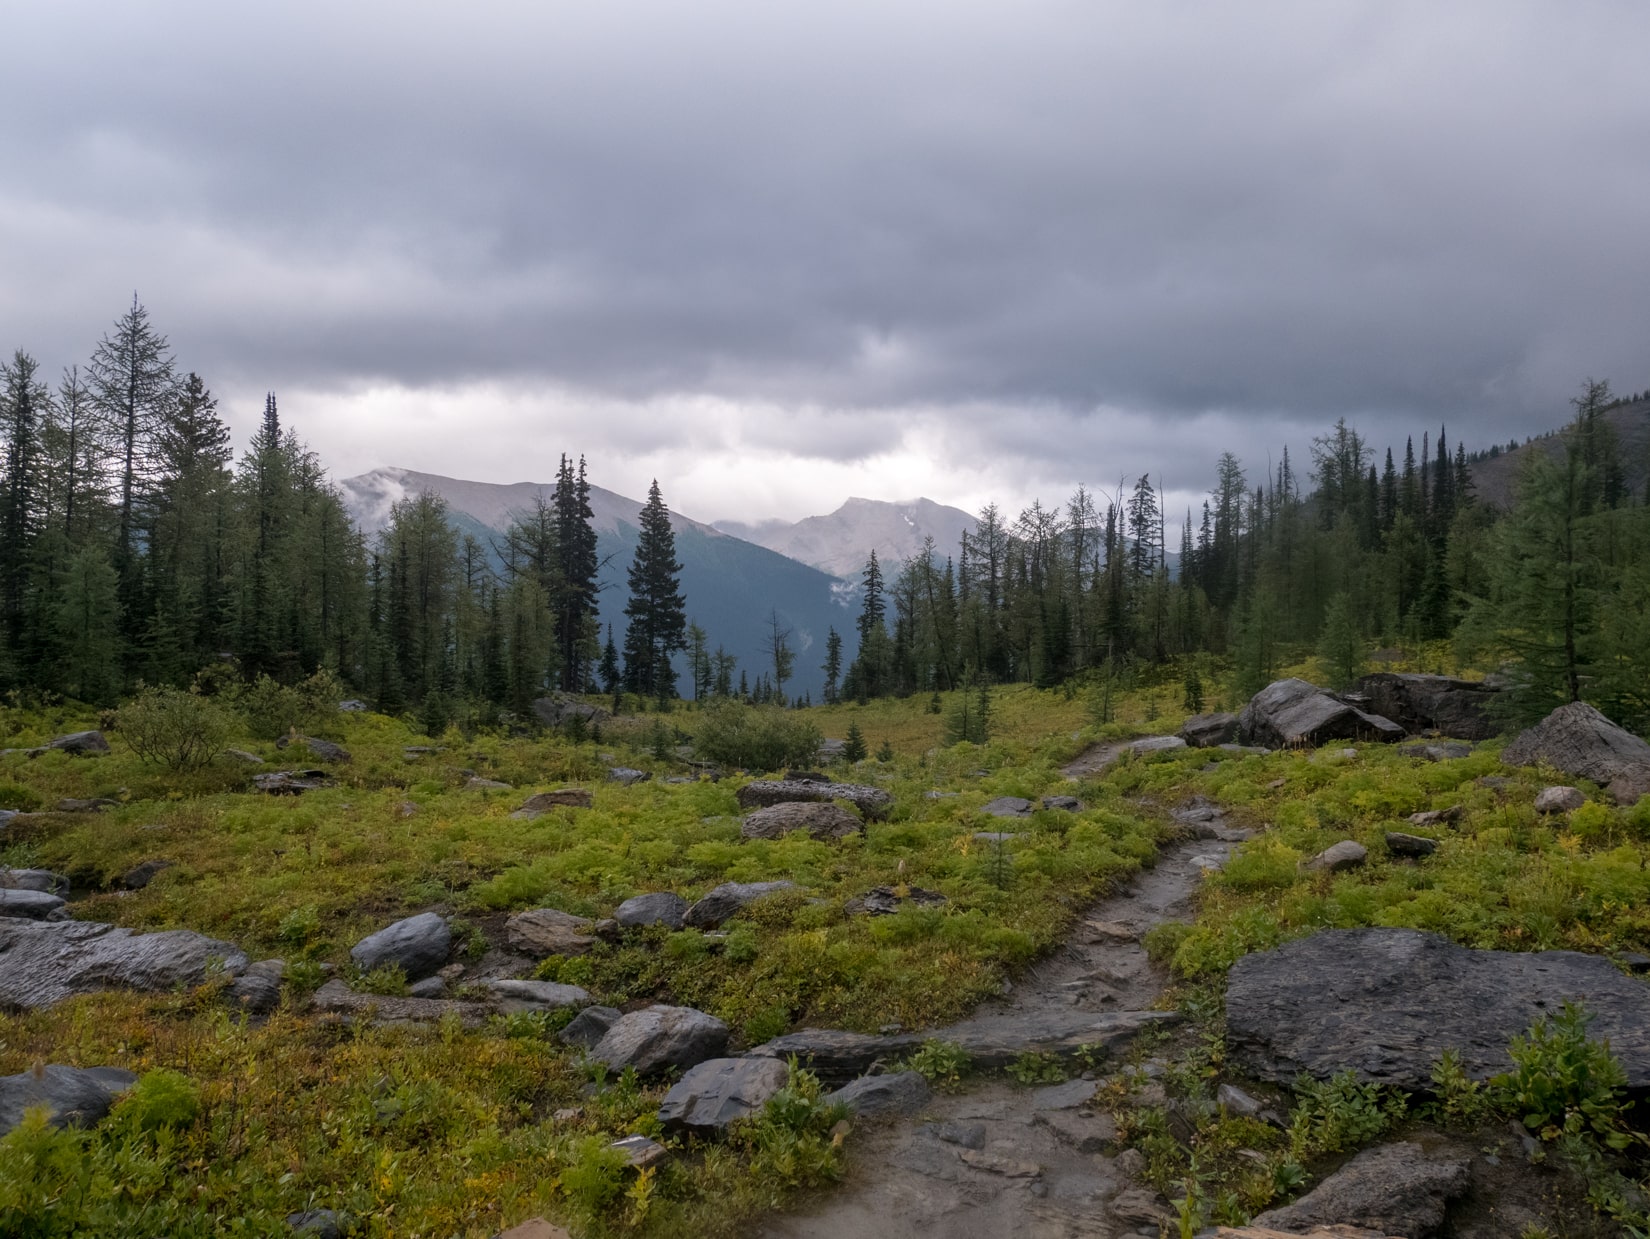
- Great views atop the mountain passes and meadows
- Well equipped campsites
- Options to bail
- Loop hike, never see the same thing twice!
- Fall larch colours
The lowlights
- Competitive permitting process
- The uphills can be a slog
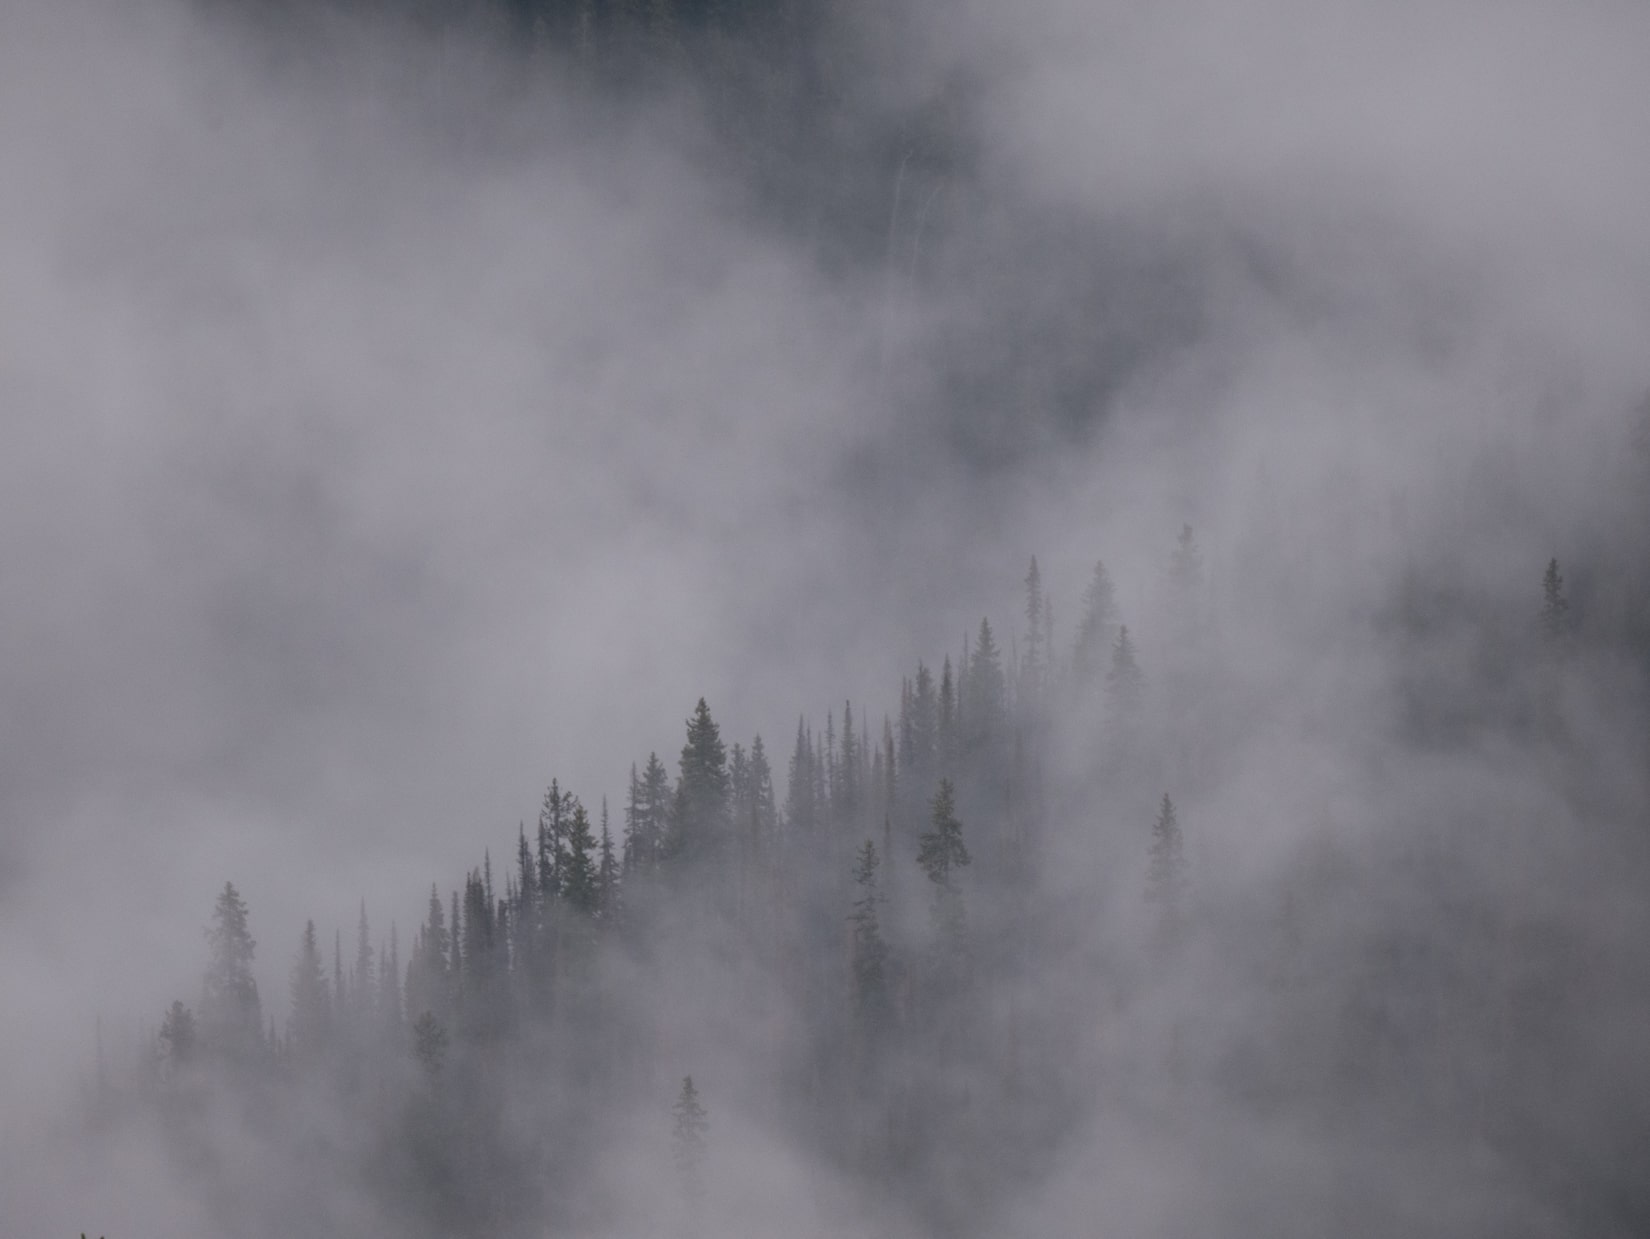
- Weather can be swing wildly
- Hitchhiking or car shuttle required
Before the Hike
We camped at Tunnel Village in Banff, so that we can start early the next day for our adventure. We also figured out the logistics of the car shuttle.
Day 1
Distance hiked: 12.6km
Ascent/Descent: +810m / -110m
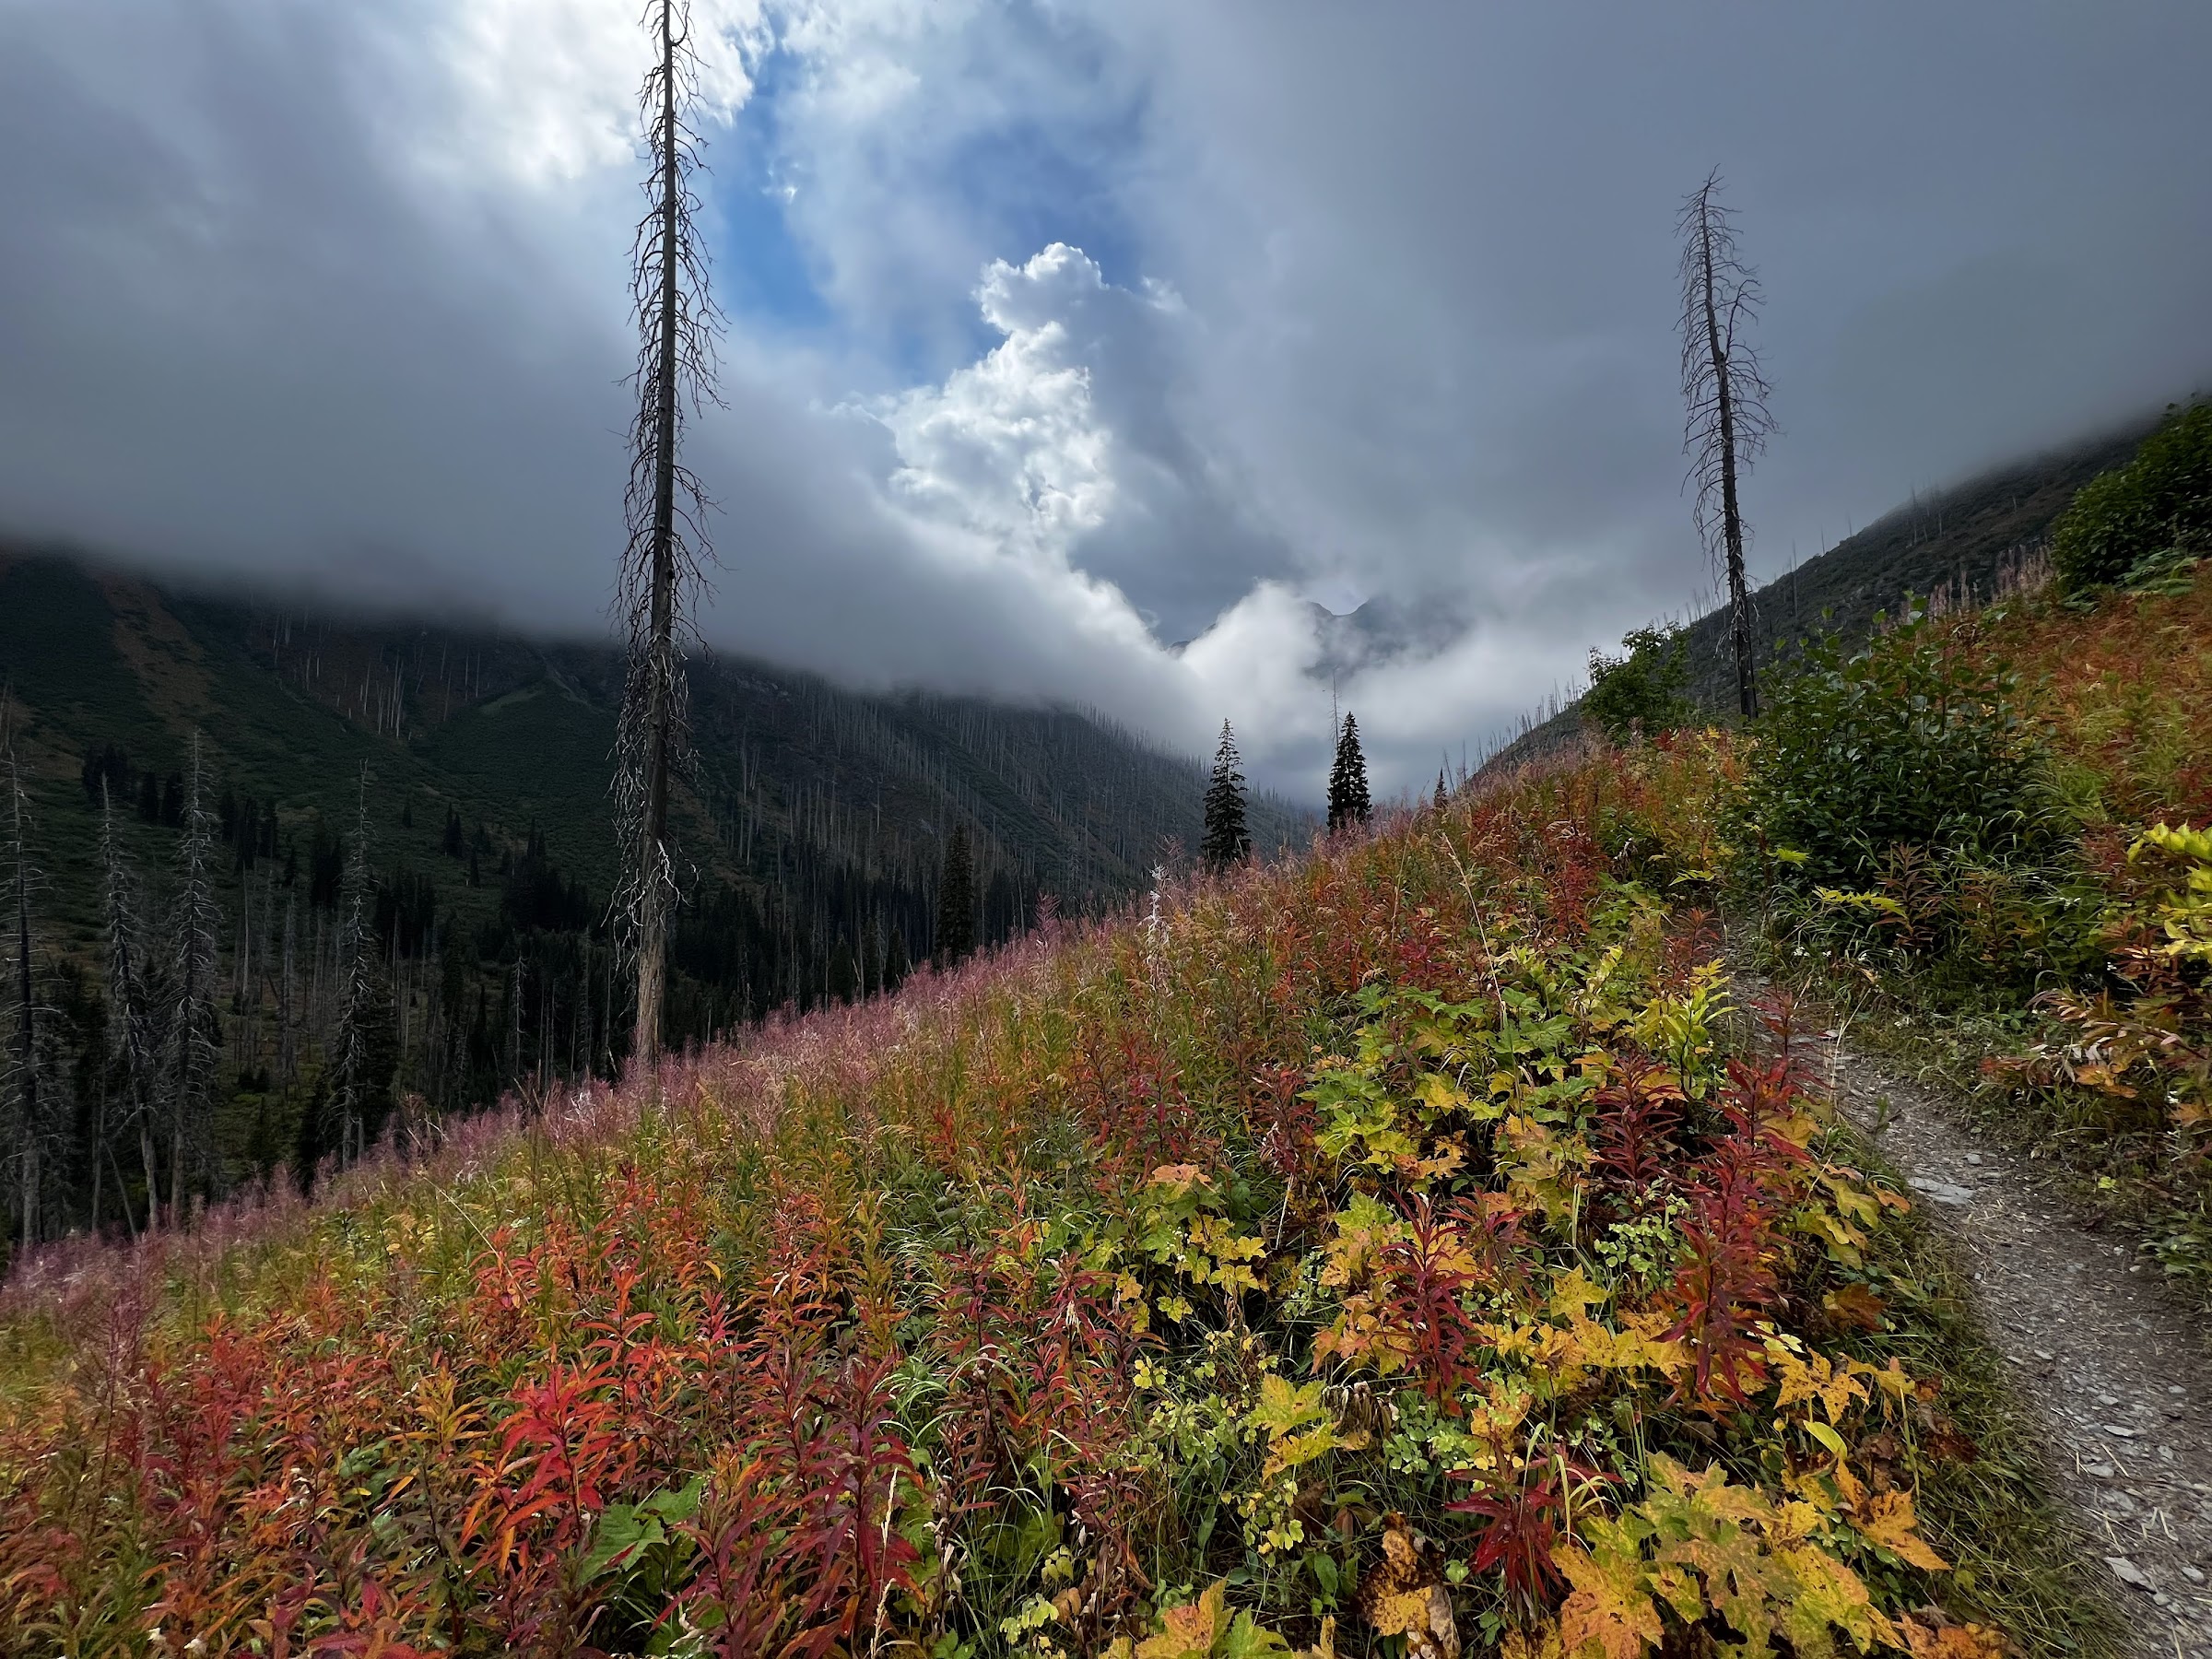
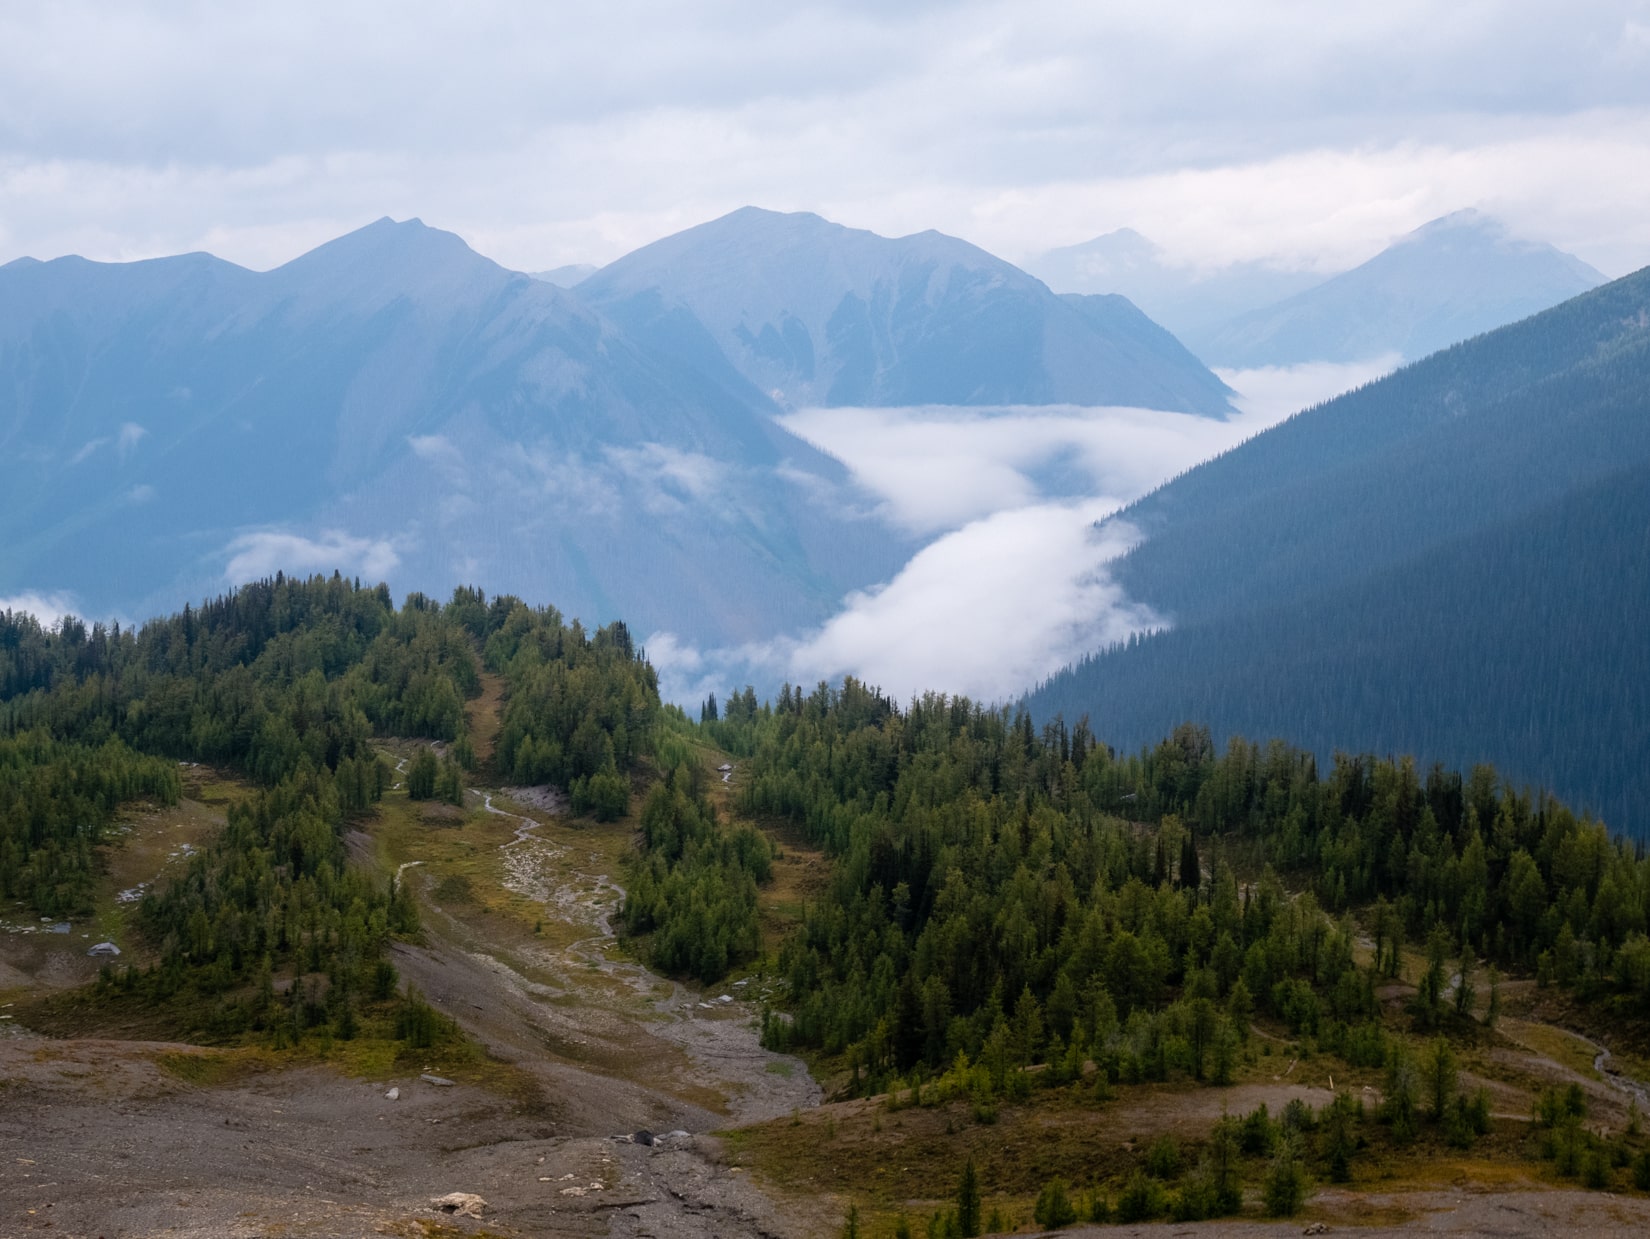
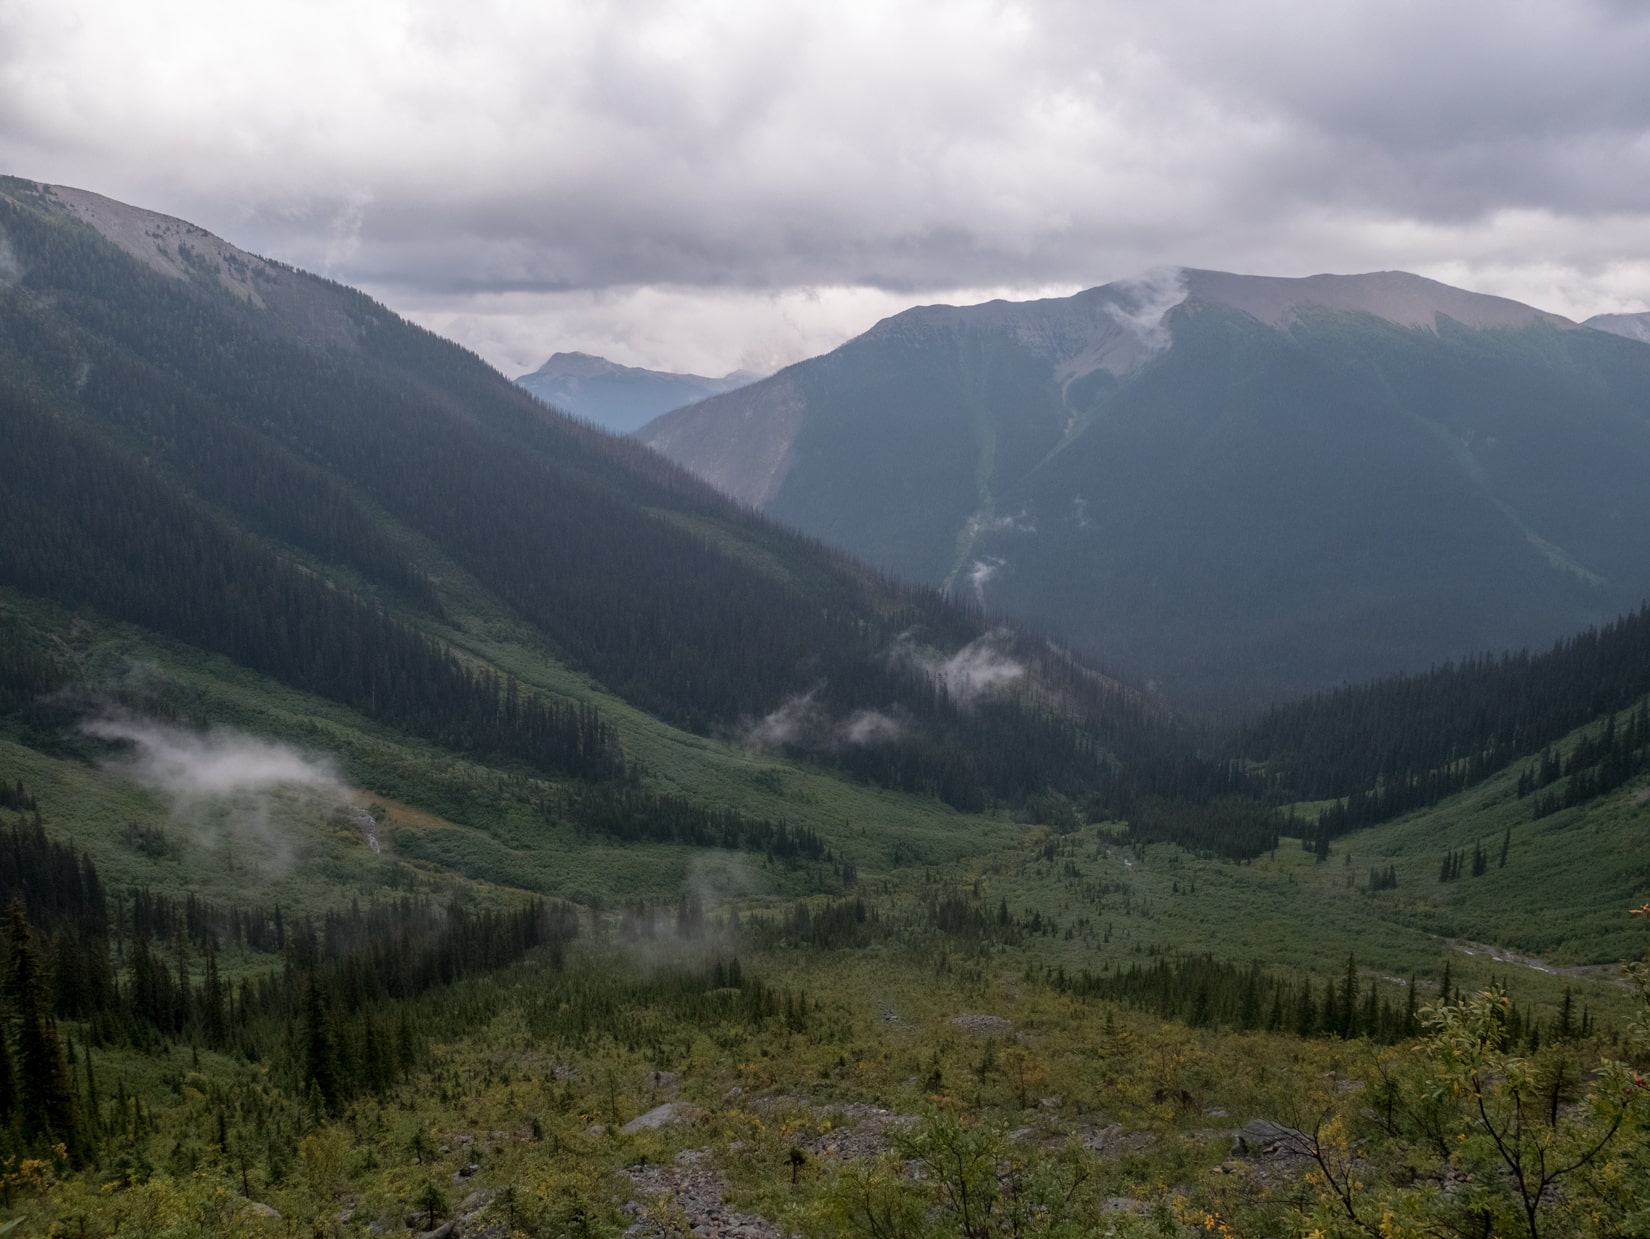
The first day of the hike starts off at Floe Lake trailhead, we arrived there at around 10am after dropping the other car at the Paint Pots parking lot. The tril starts off pretty mellow by crossing the Vermilion River and taking us on a relatively flat ridge for the first 8 km of the hike. This part of the hike is entirely in a burn zone, so it is very exposed. I recommend hiking this part early in the day so it’s not too hot. Lucky for us, it was a cold and cloudy day, so the hike up was quite pleasant.
There is a beauty to burn zones I hadn’t realized. Despite the charred tree trunks all around us, there was just signs of life everywhere. The think underbrush is already showing fall colours, and we saw signs of new saplings growing among the dead trees.
Eventually we reached the big uphill that takes you up to Floe Lake. This part of the trail is really steep, and there are parts of the trail that is a bit eroded. It was a bit of a slog to get through this part, and many breaks were had.
The Floe Lake campground is one of the best backcountry camps I’ve been. It’s well equipped with everything you need: picnic tables, bear lockers, and outhouses. The lockers mean that you do not need to carry heavy bear canisters or ropes with you on the trip.
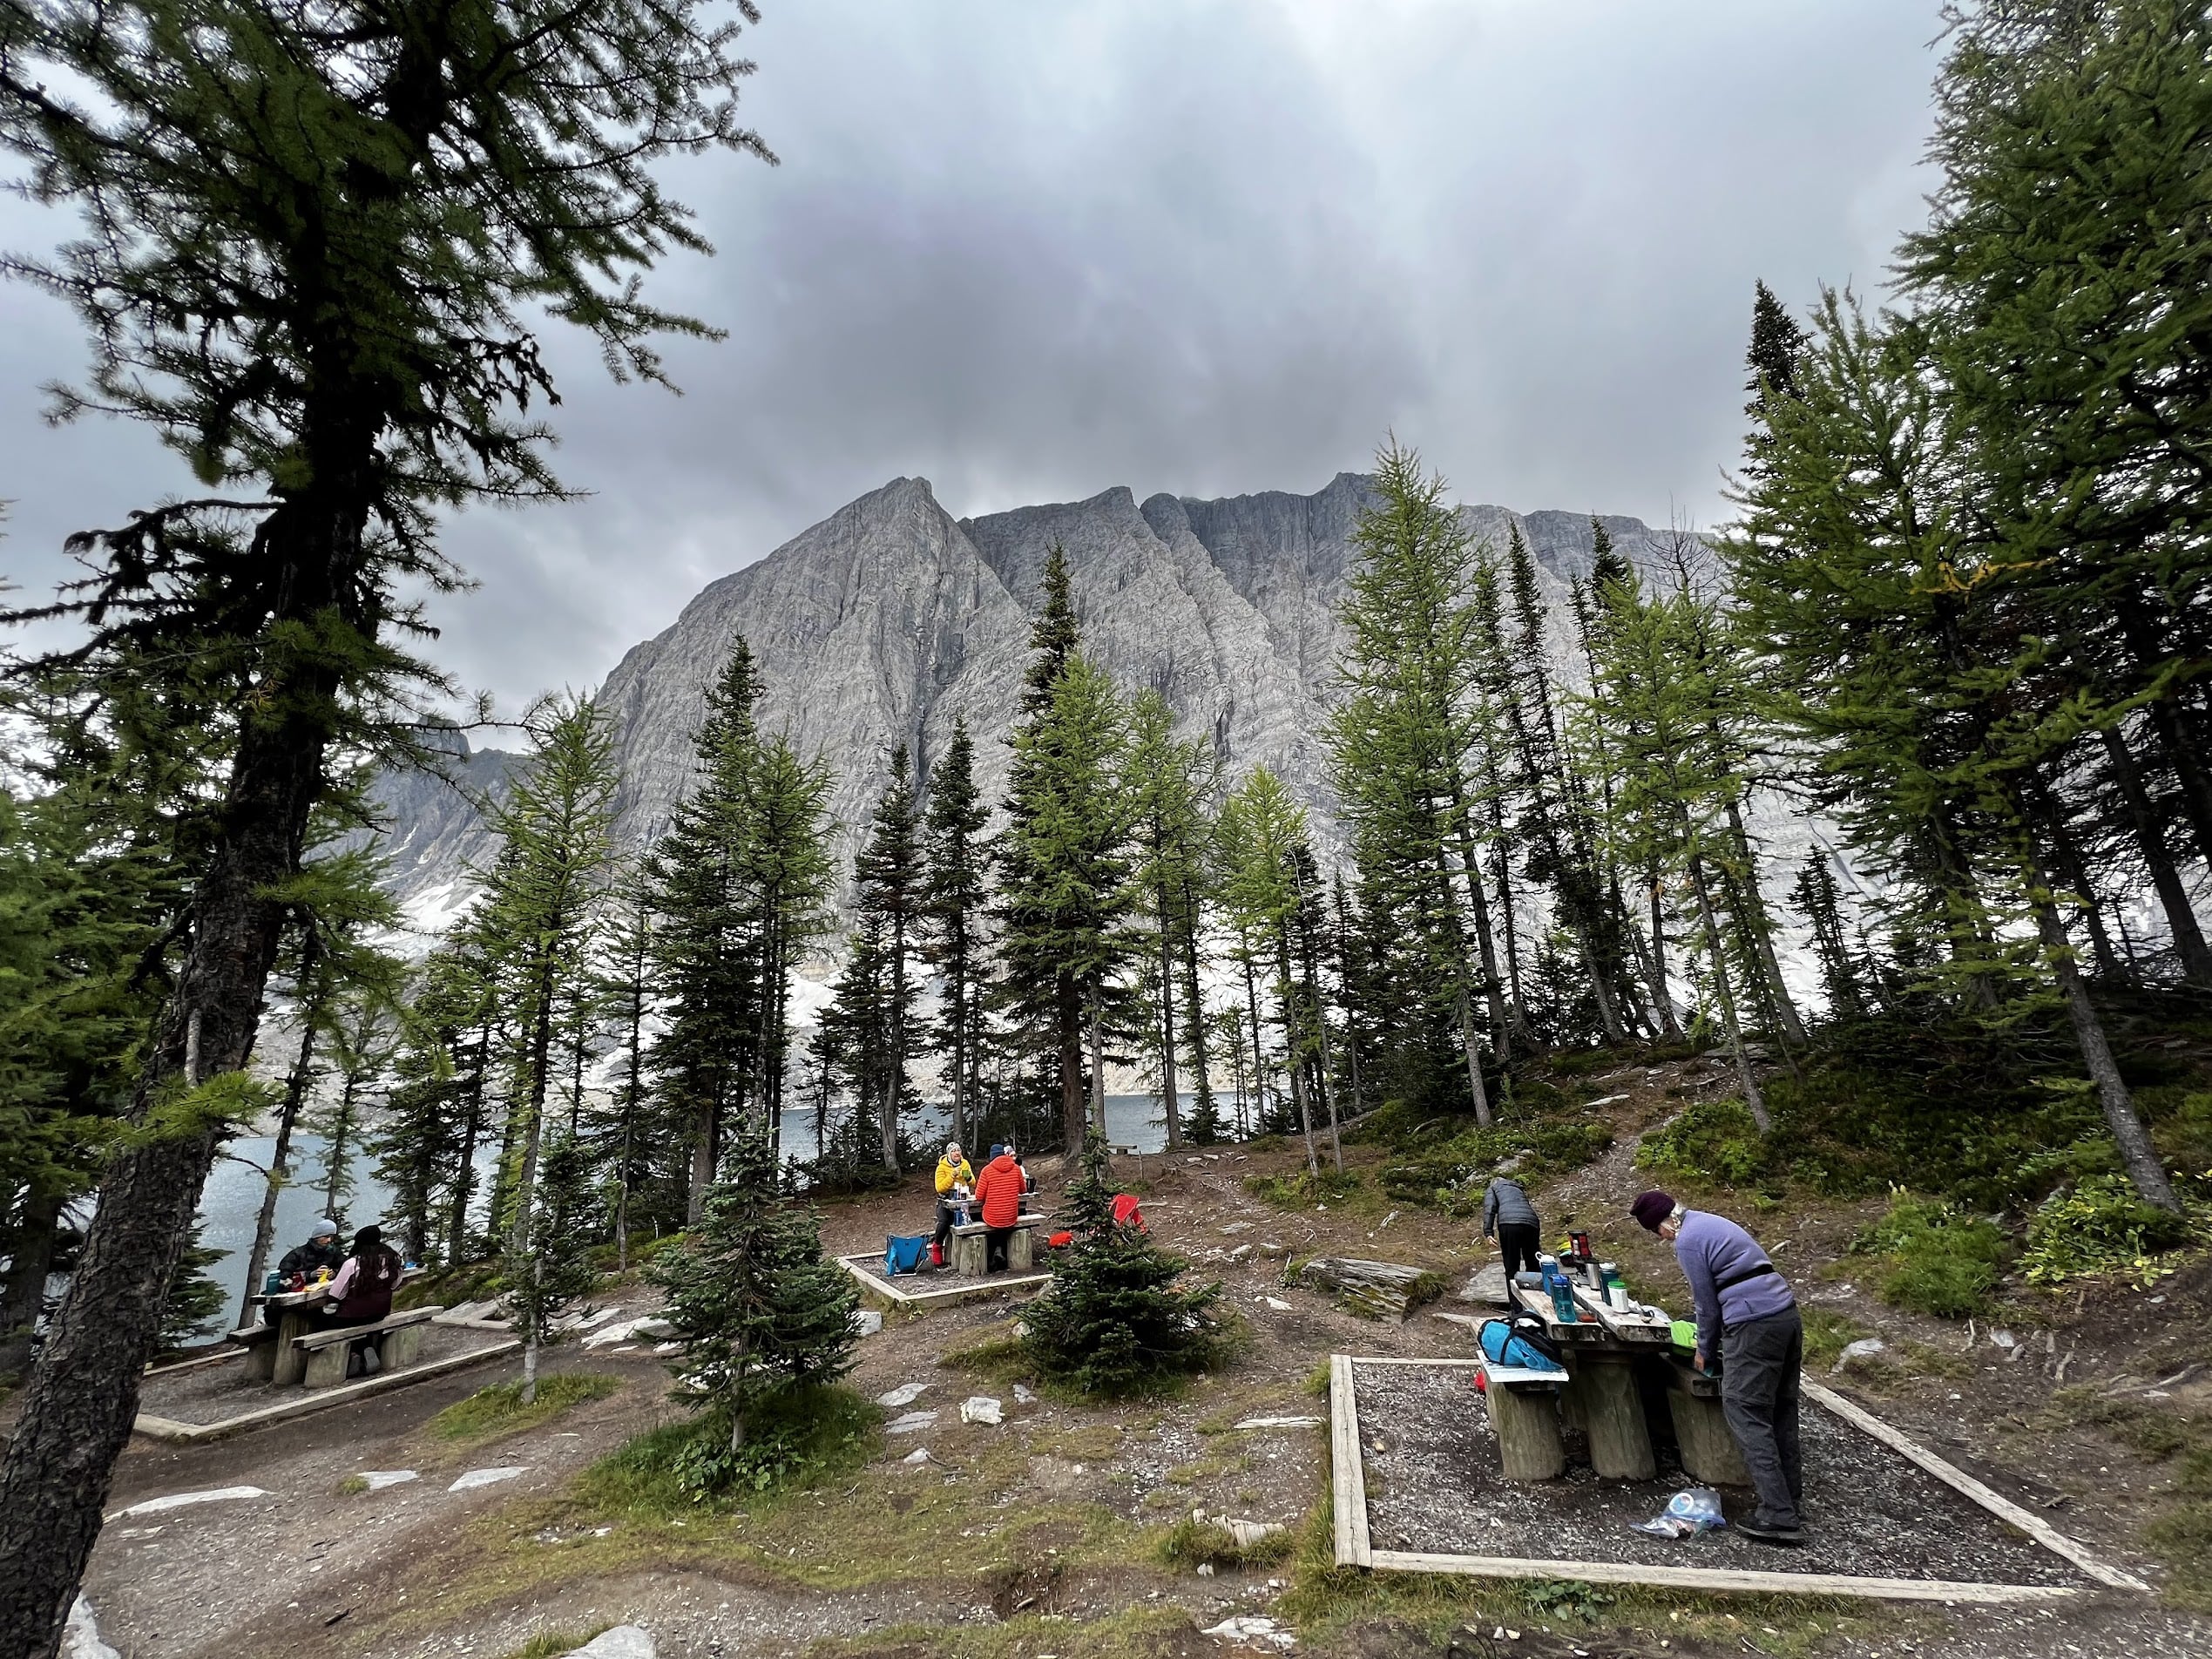
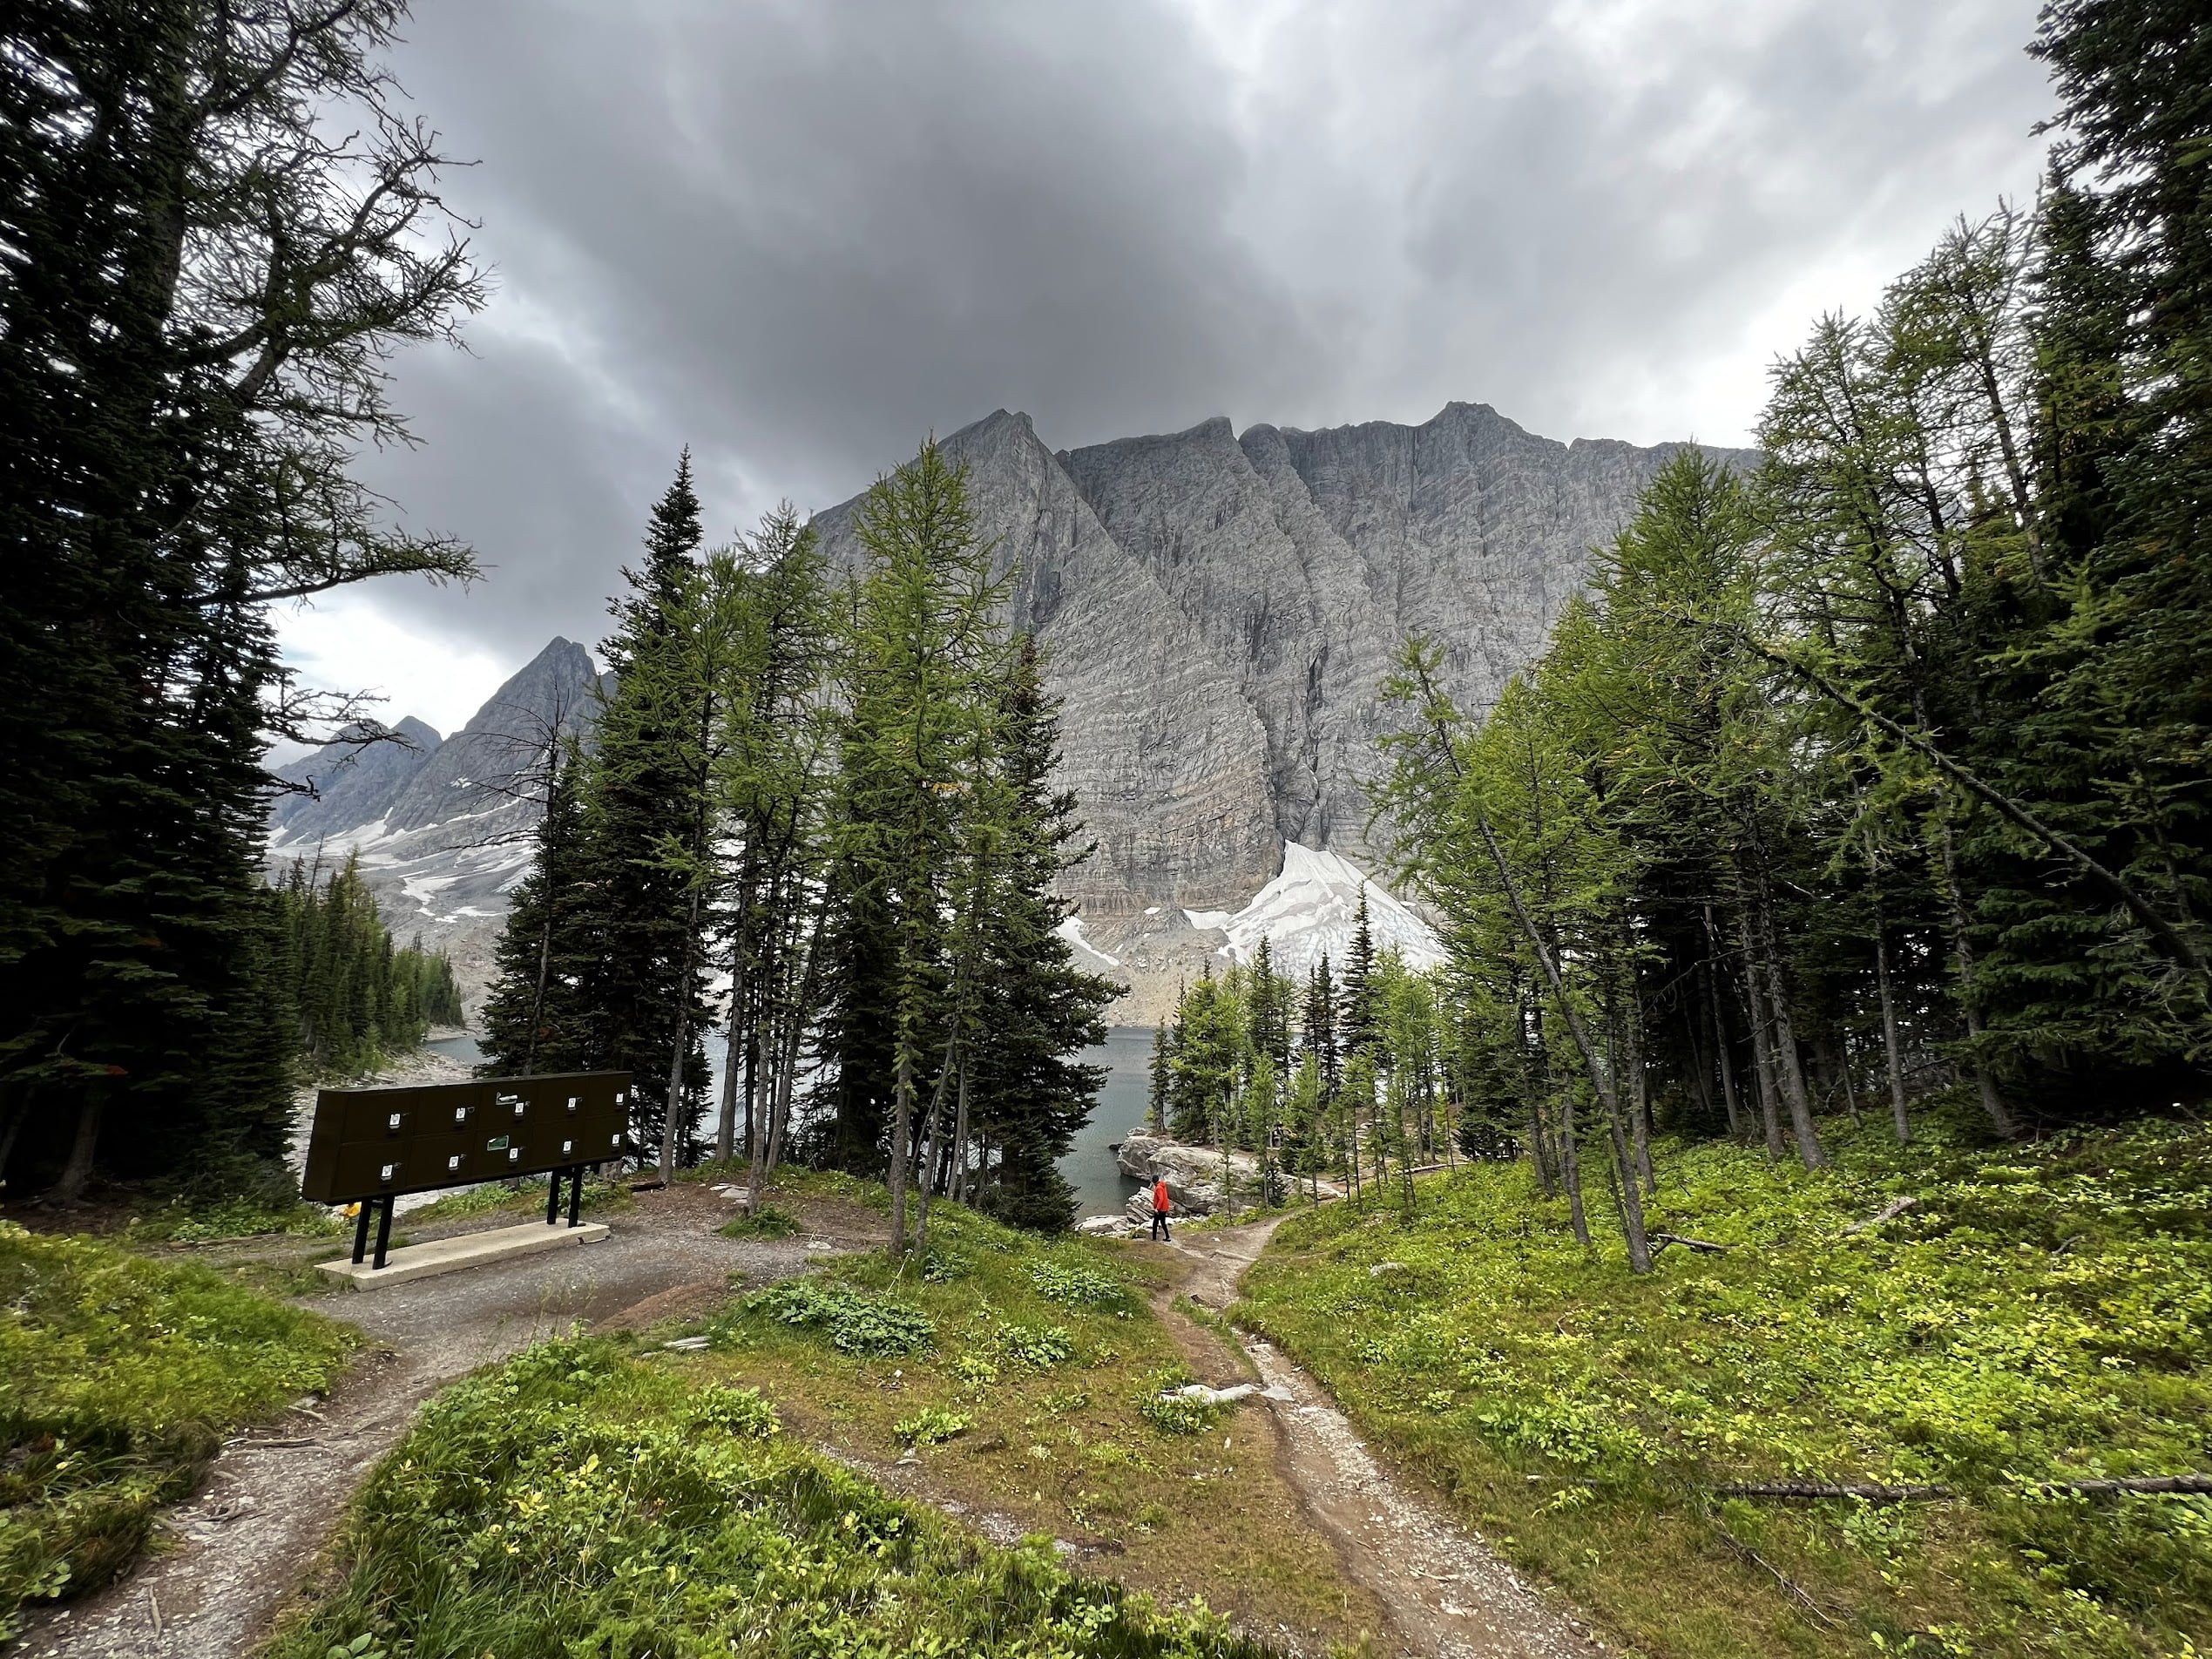
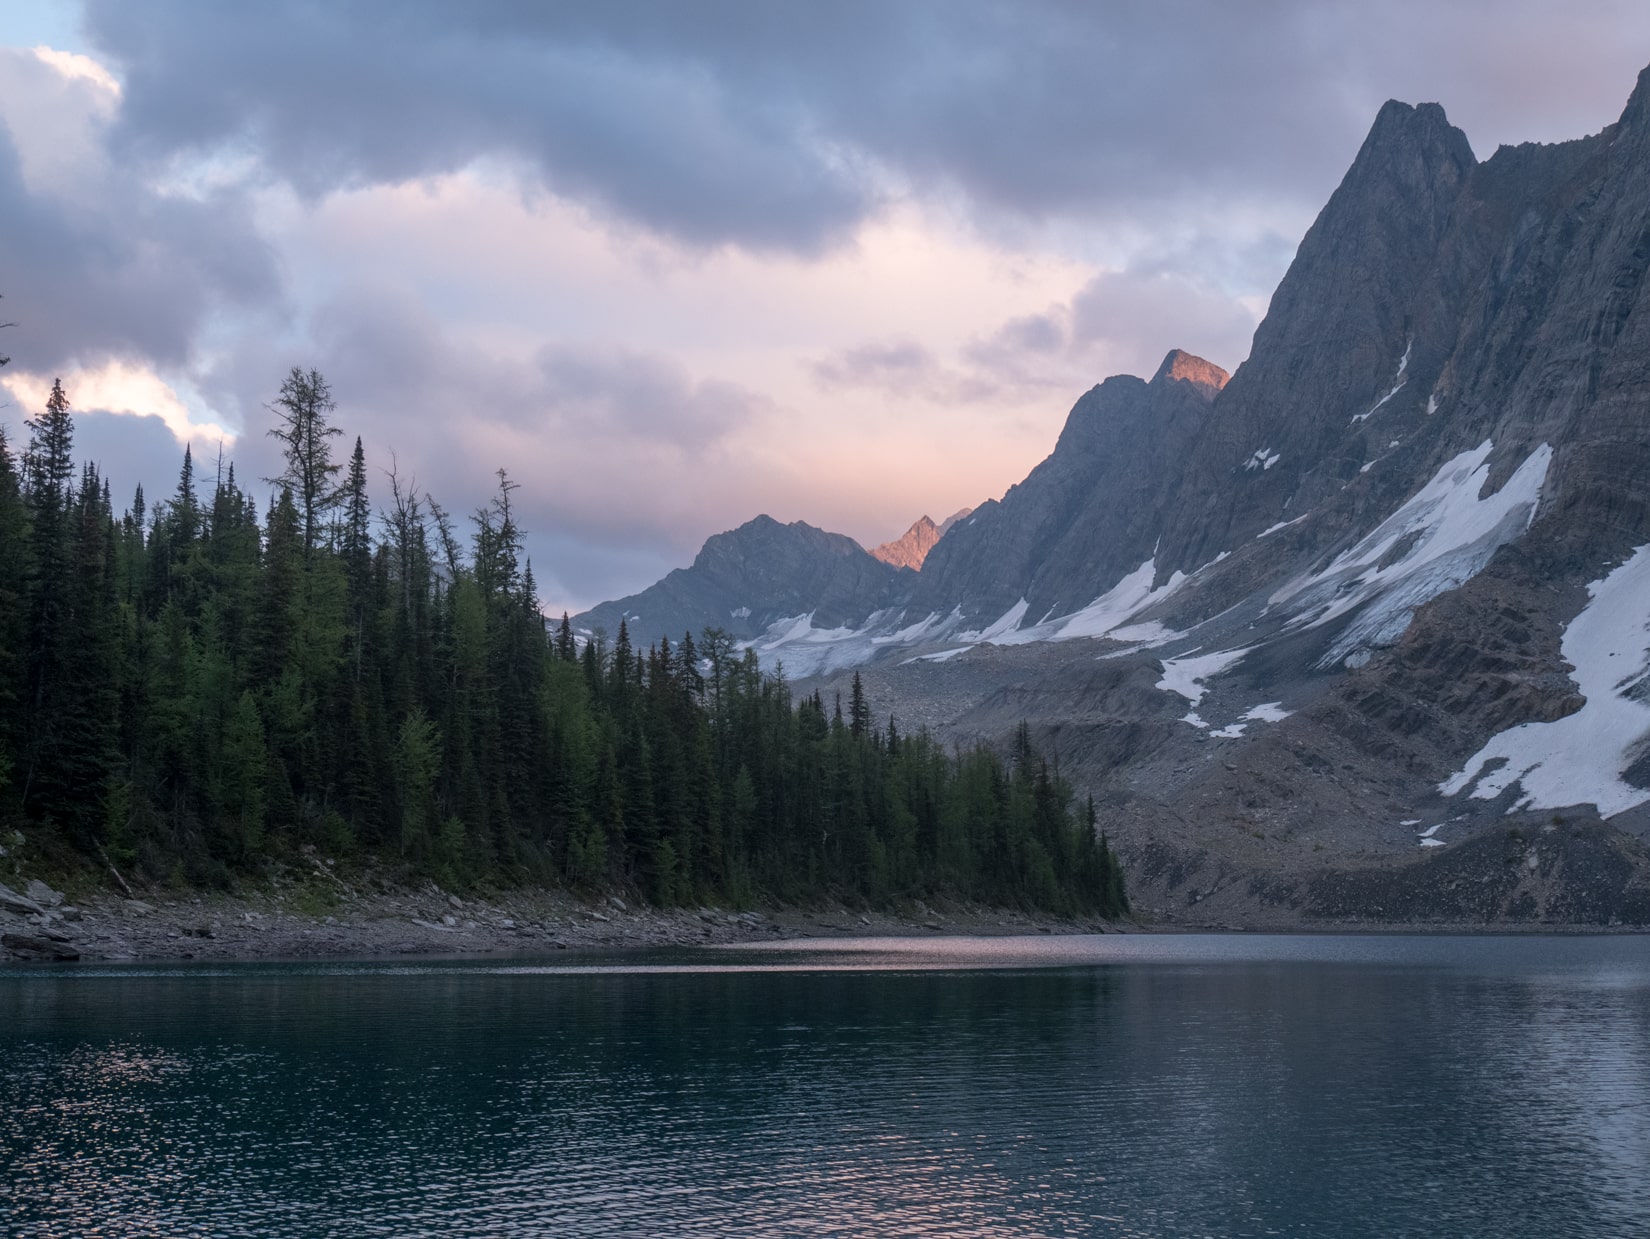
The lake is also beautiful, and just a great place to end the day. We saw a few folks jump into the frigid lake for a dip, but we chose to be a bit wiser than that.
Day 2
Distance hiked: 20.7km
Ascent/Descent: +1120m / -1245m
We were told by just about every backpacker we met along the trip that our 2nd day plan wad ambitious, as it was usually done over two days with a stay at Numa Creek.
So, after getting up at sunrise for an early start, we had breakfast and bid goodbye to Floe Lake as we started our ascent up Numa Pass. When looking at the numbers, at a 300m elevation gain, it shouldn’t be a hard uphill, but we were still groggy from the morning and found it to be a bit harder than it seemed.
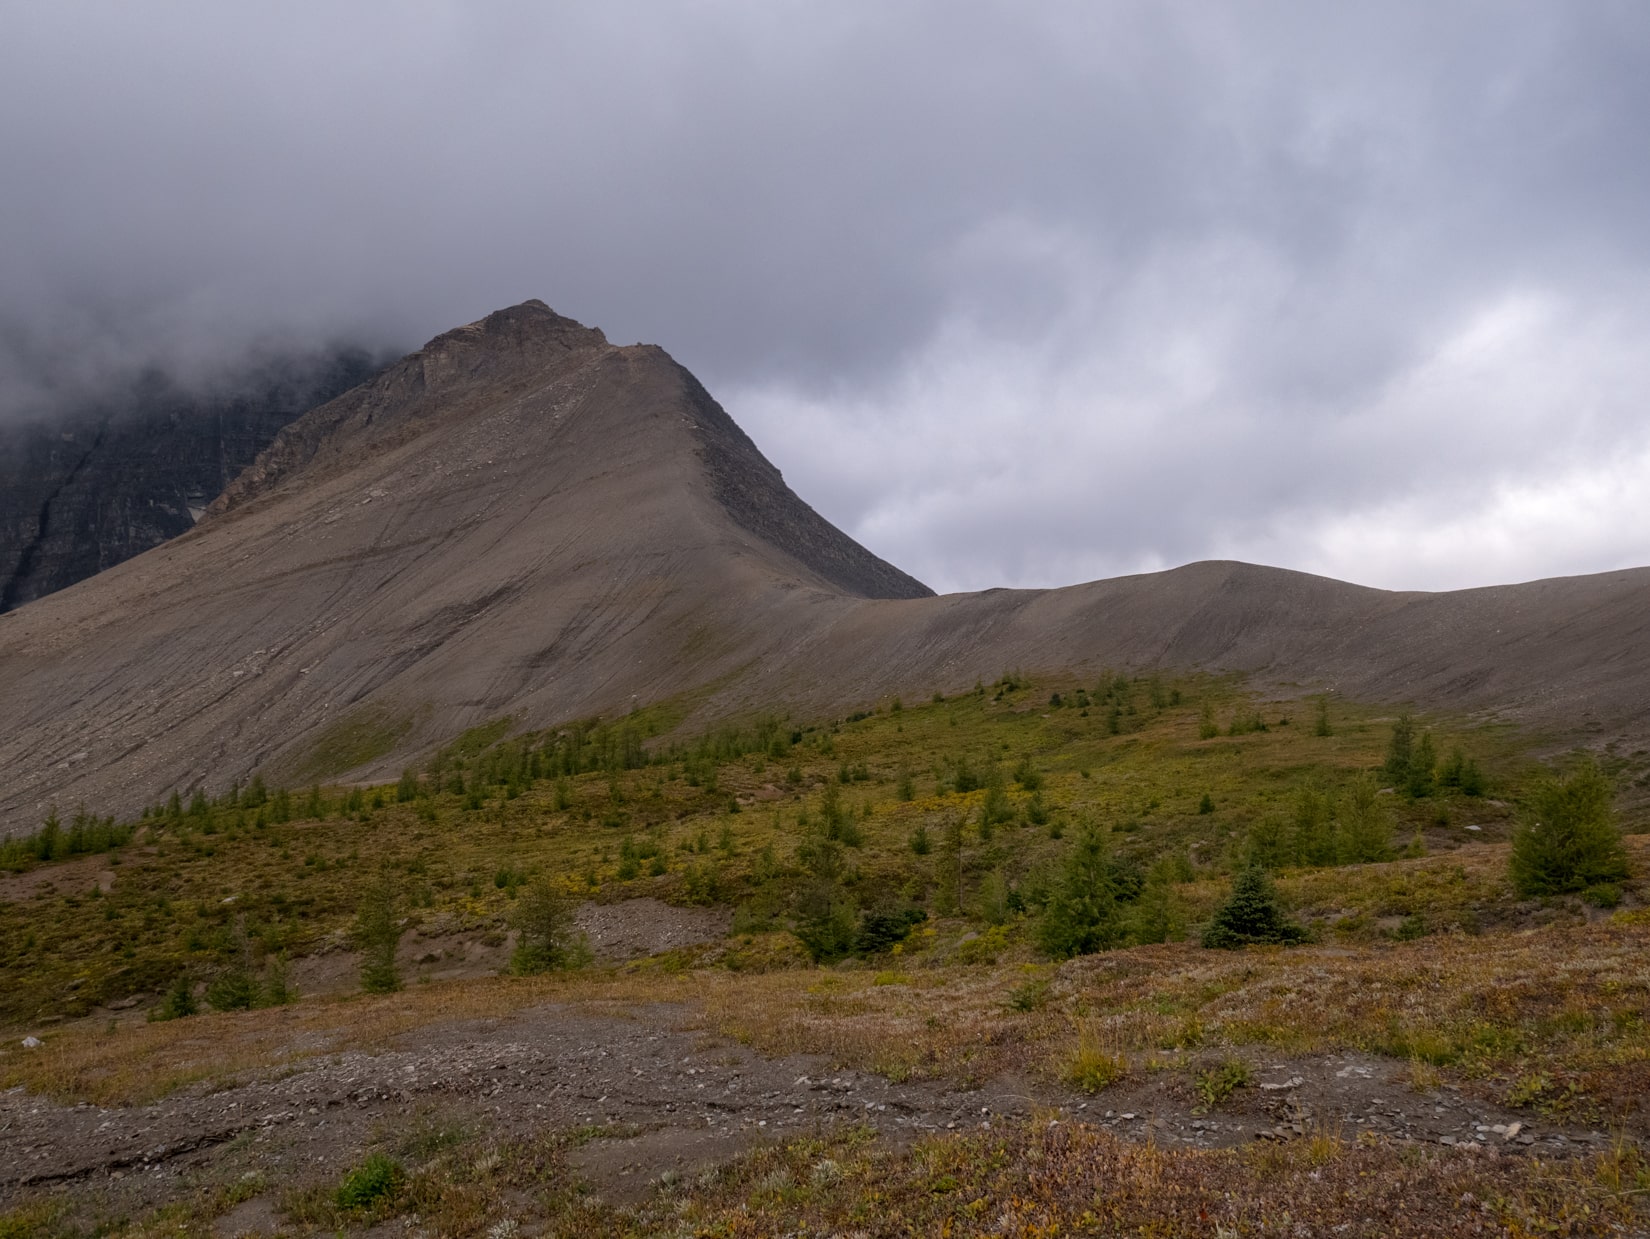
The pass is the highest point on this trail, at 2300m elevation, and the views are great, but we had to withstand the heavy wind blowing from all around.
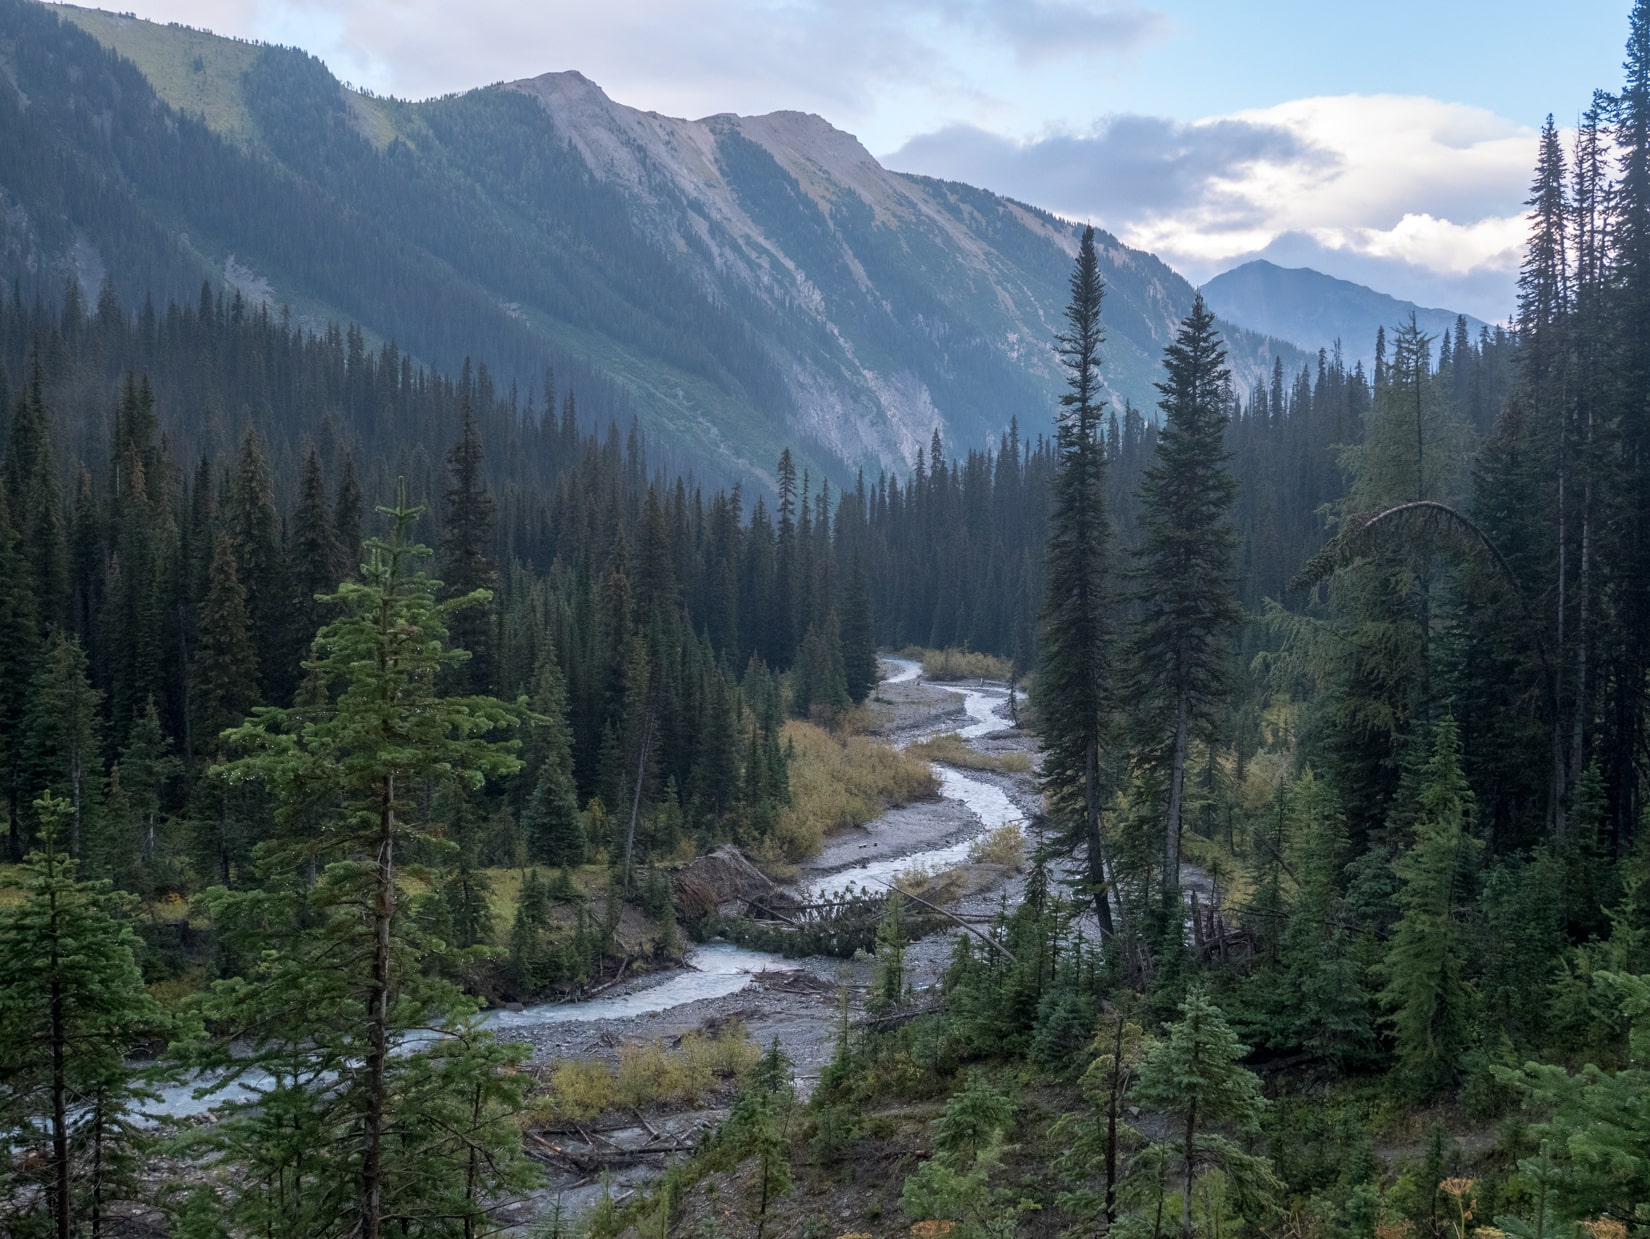
Soon, after a quick break, it was time to head down the pass from the other side, a long slog down the valley until we reached Numa Creek, our resting spot for lunch.
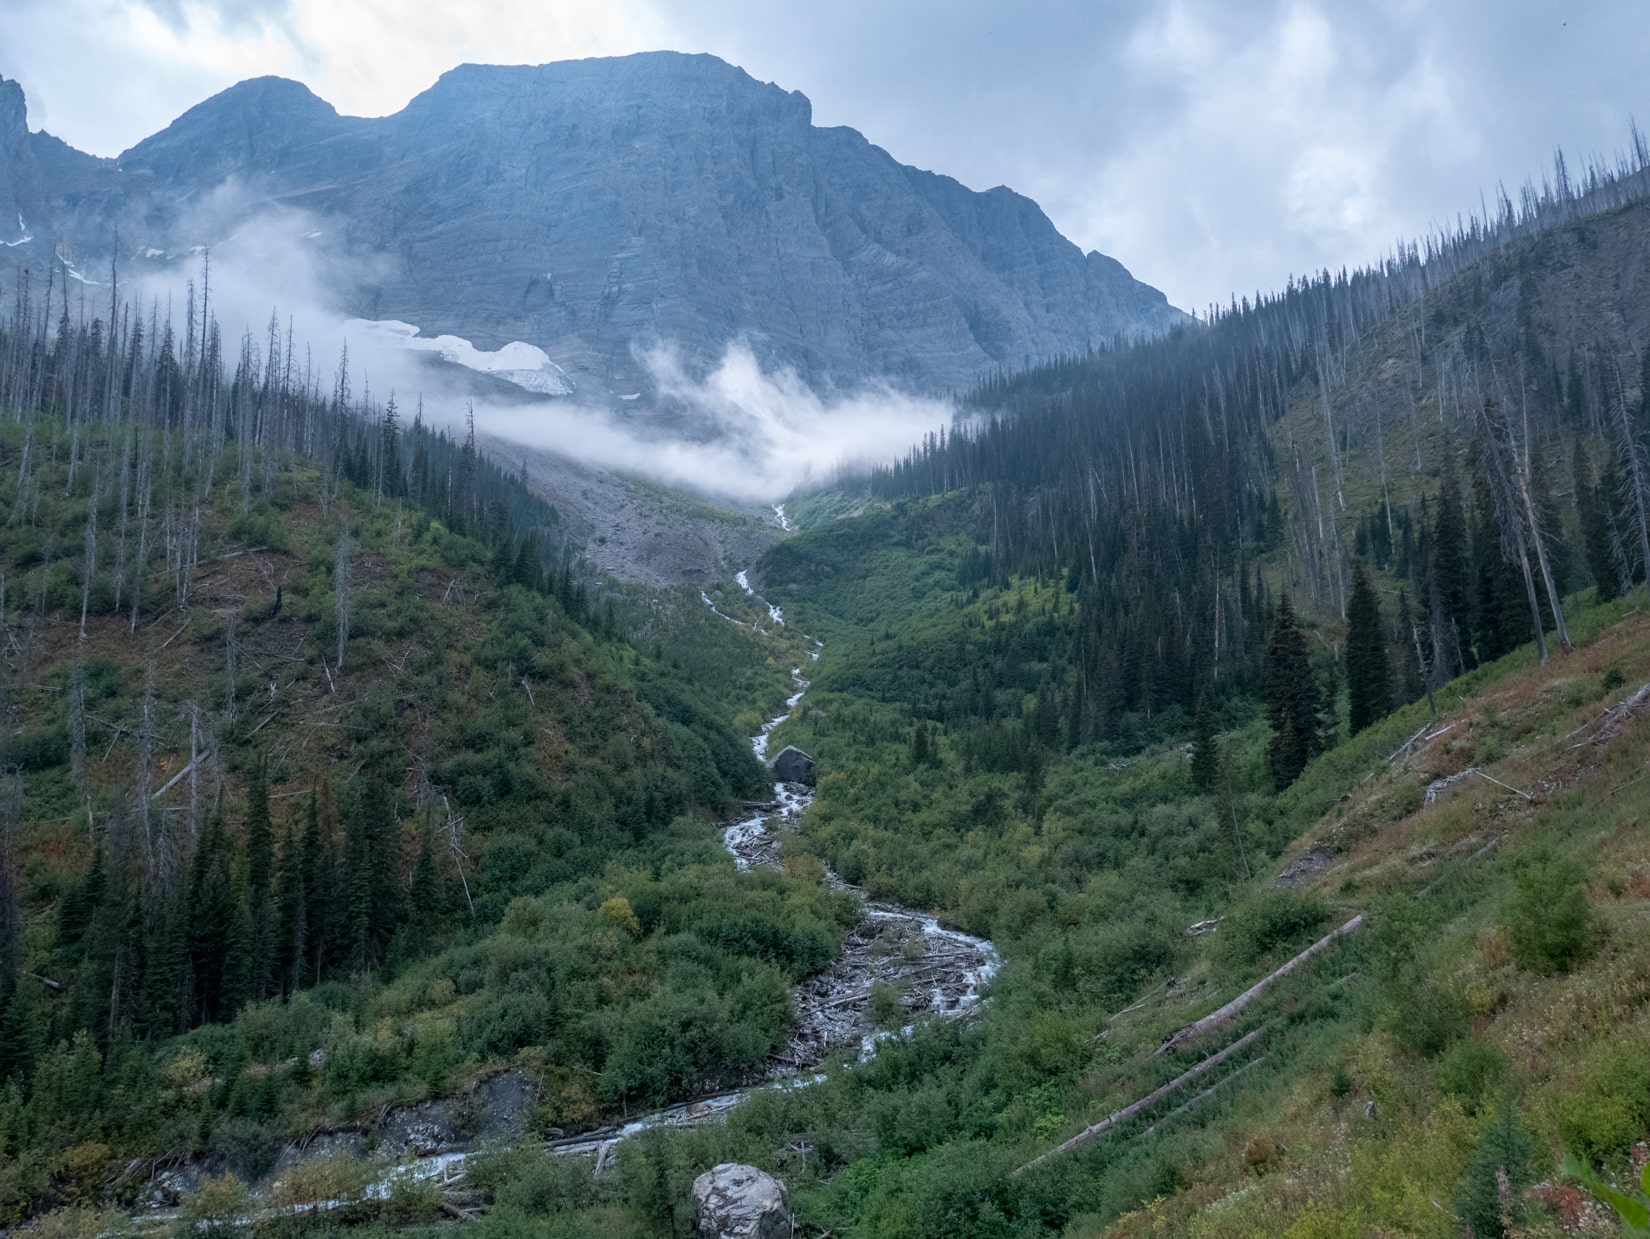
After a short break at Numa Creek and a brief period of sun, we started climbing Tumbling Pass, a significant uphill at around 800m of elevation, and going through an overgrown switchers full of alder brush. The weather also suddenly turned for the worst, with heavy showers the whole time we were climbing the pass. Needless to say, we got quite wet.
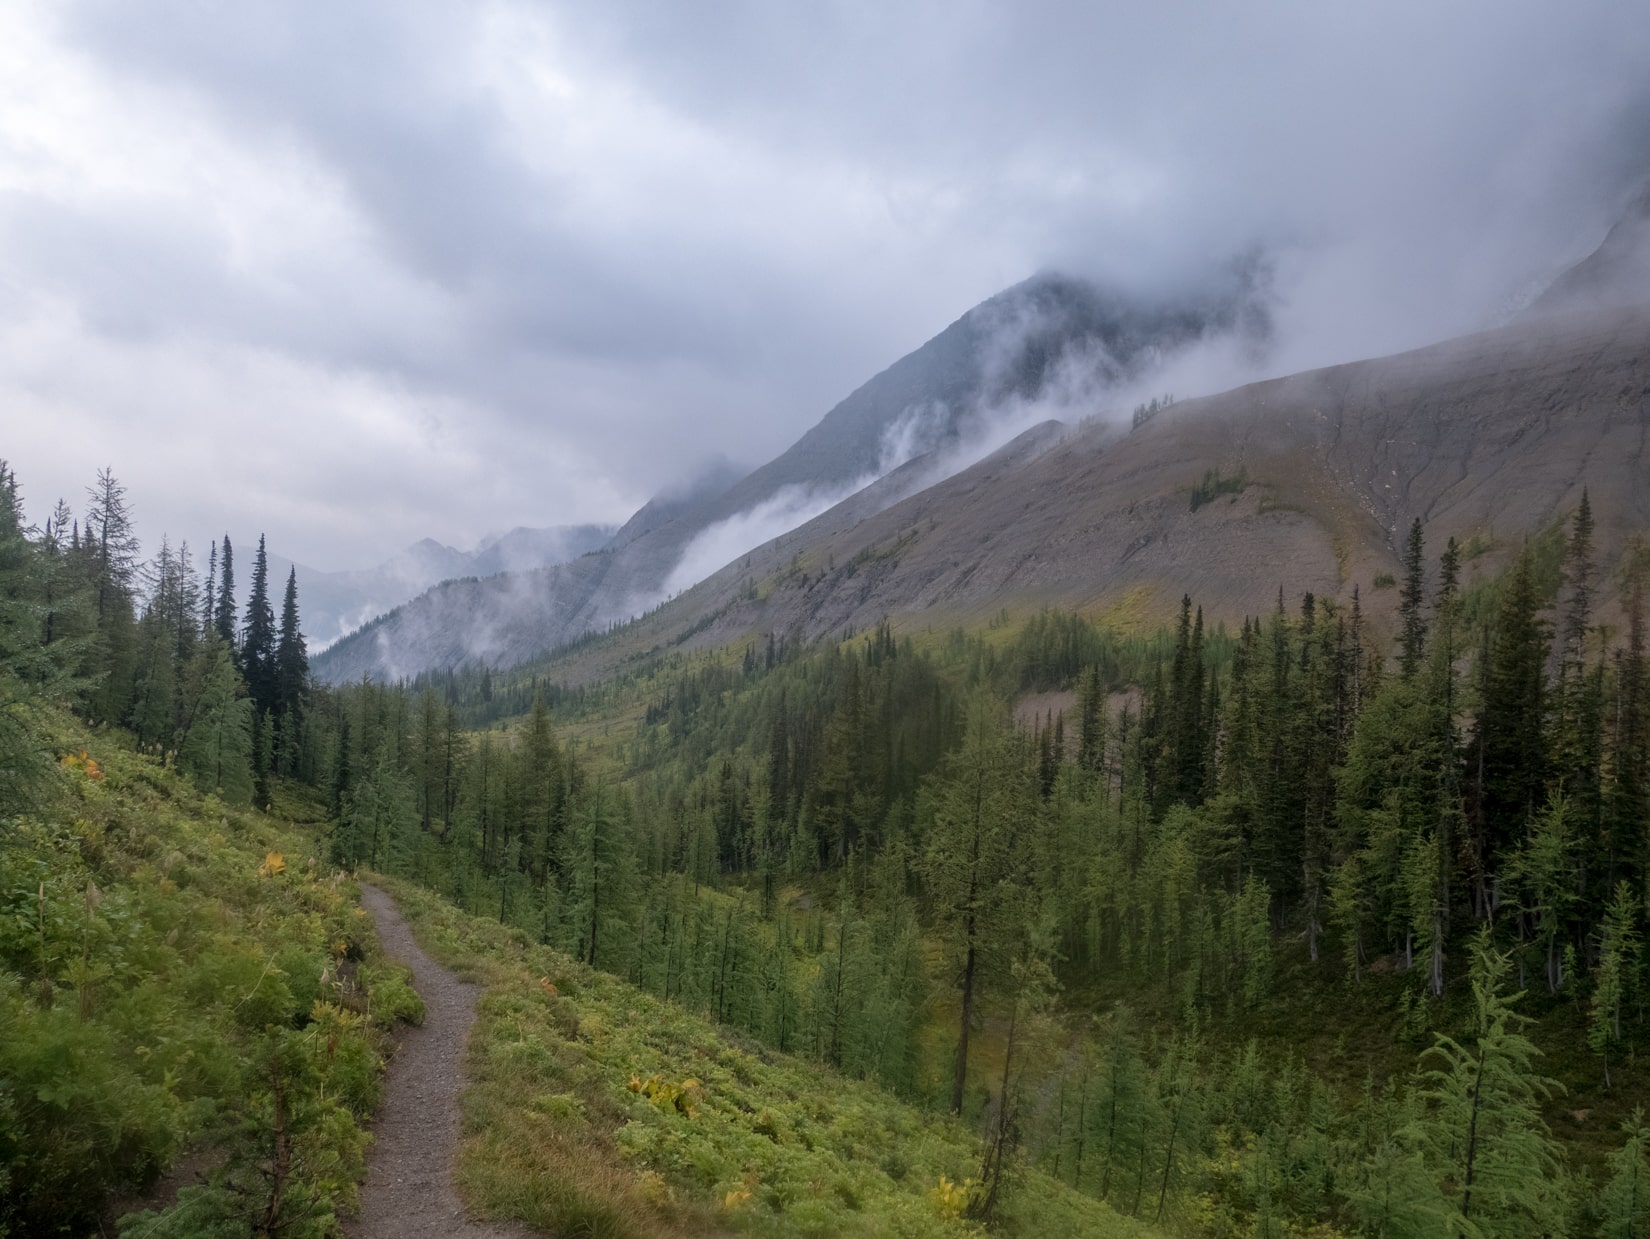
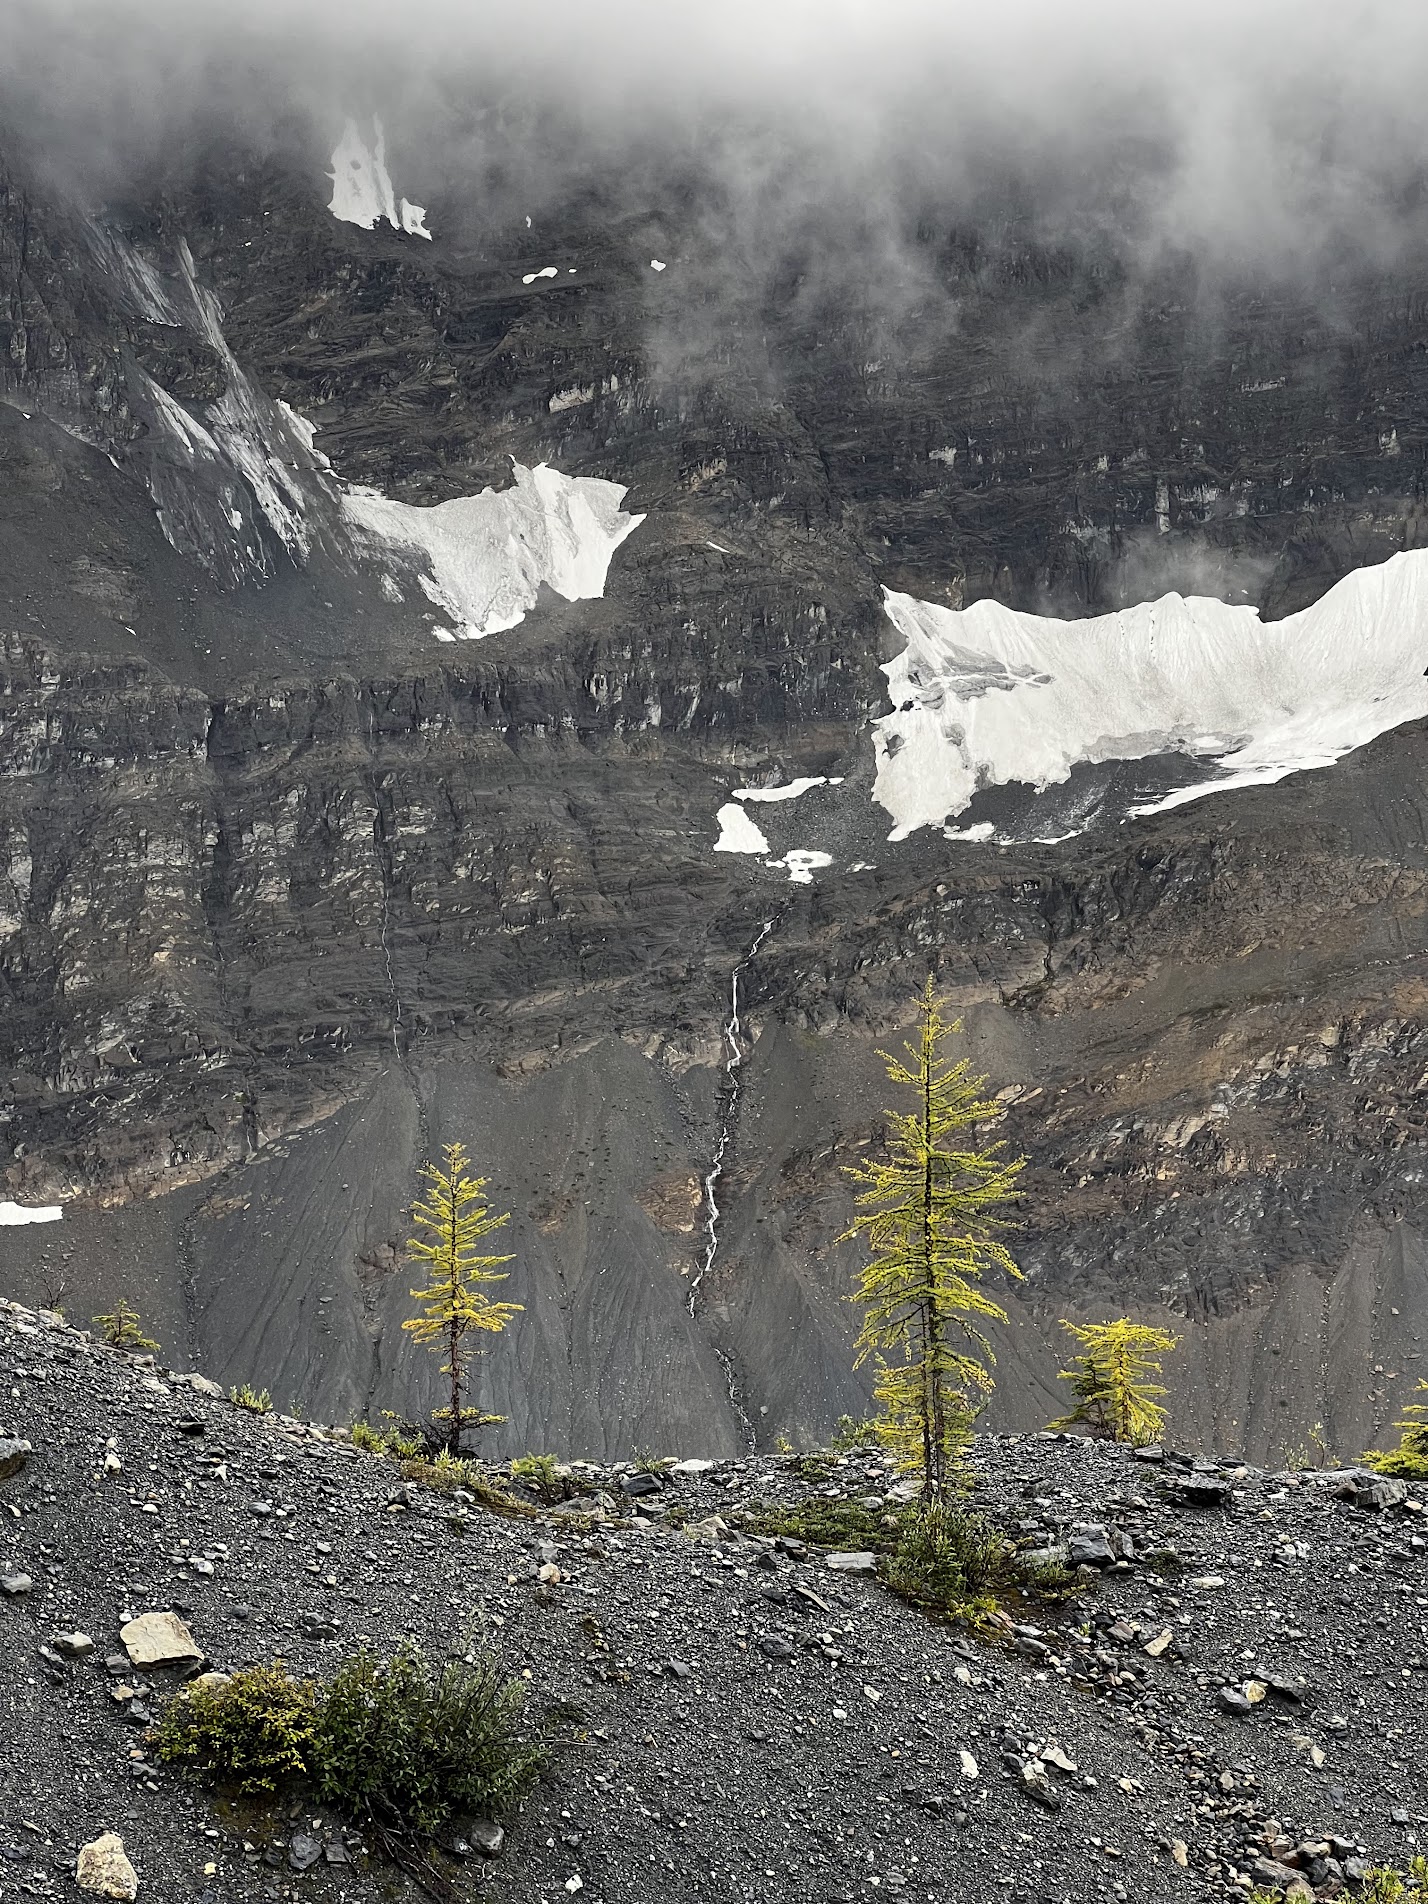
The rest of the hike after the pass is, once again, all downhill, all against a backdrop of the rockwall and glaciers. The larches around here are turning yellow so it was a nice sight to see.
The campground at Tumbling Creek is similarly equipped as well.
10 minutes after we got in our tents, a powerful thunderstorm arrived. For an hour, my tent was battered by intense rain and I had trouble catching sleep as I heard the sound of thunder and being lit up by lightning. I had to quickly dig up a moat around my tent to avoid water from pooling and flooding my tent as I sleep.
Day 3
Distance hiked: 12.1km
Ascent/Descent: +150m / -590m
I woke up luckily not flooded in water, but found my tent to be covered by a sheet of ice. The temperature had dropped below freezing overnight and froze everything. Even the bear lockers were frozen and we had to put in an effort to open them.
However, as a sort of consolation prize for the storm (and getting everything I have slightly damp), the weather was not just great. Blue skies and a beautiful sunrise.
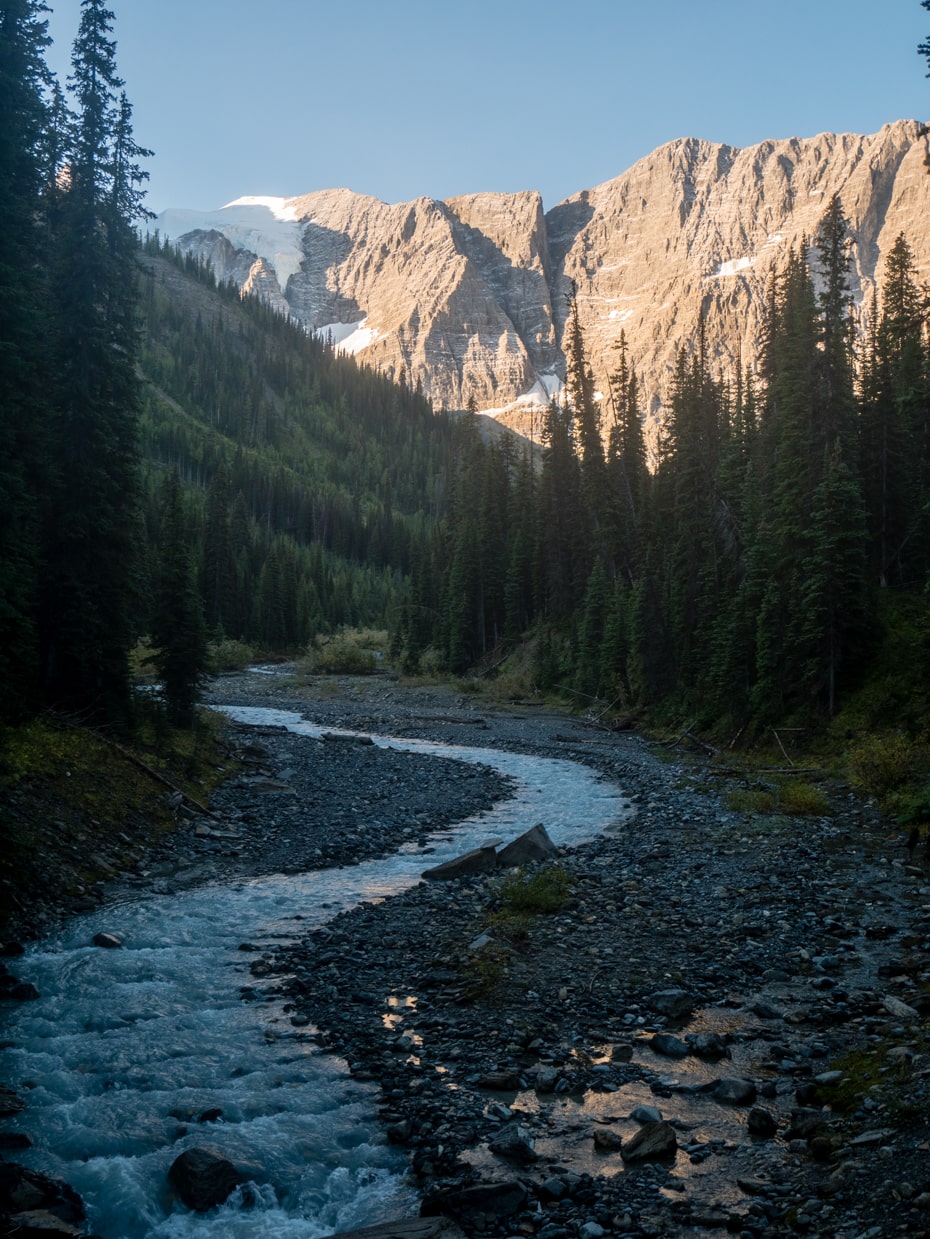
We packed up quickly, and hiked down to the parking lot in the cold.
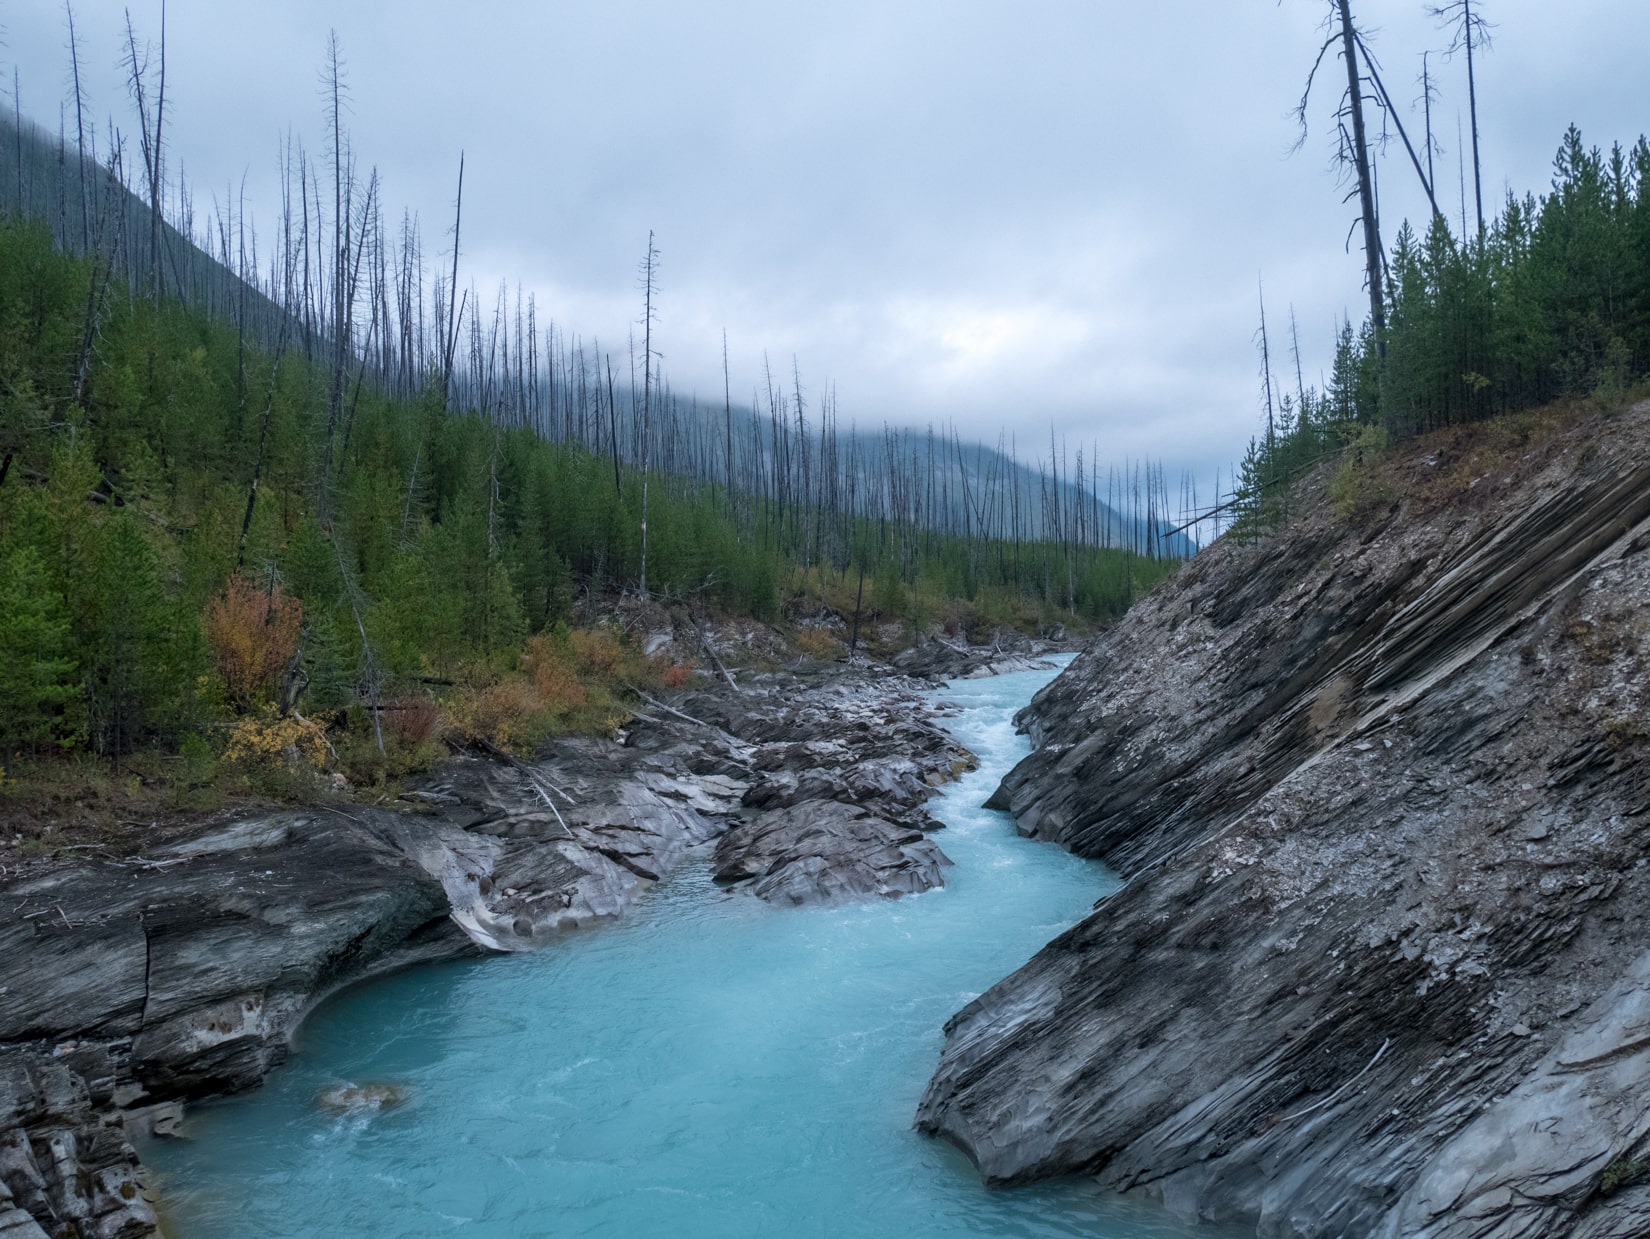
There isn’t much to say about the Tumbling Creek trail. We walked along a creek, a few waterfall, and the occasional peek back at the Rockwall far above us.
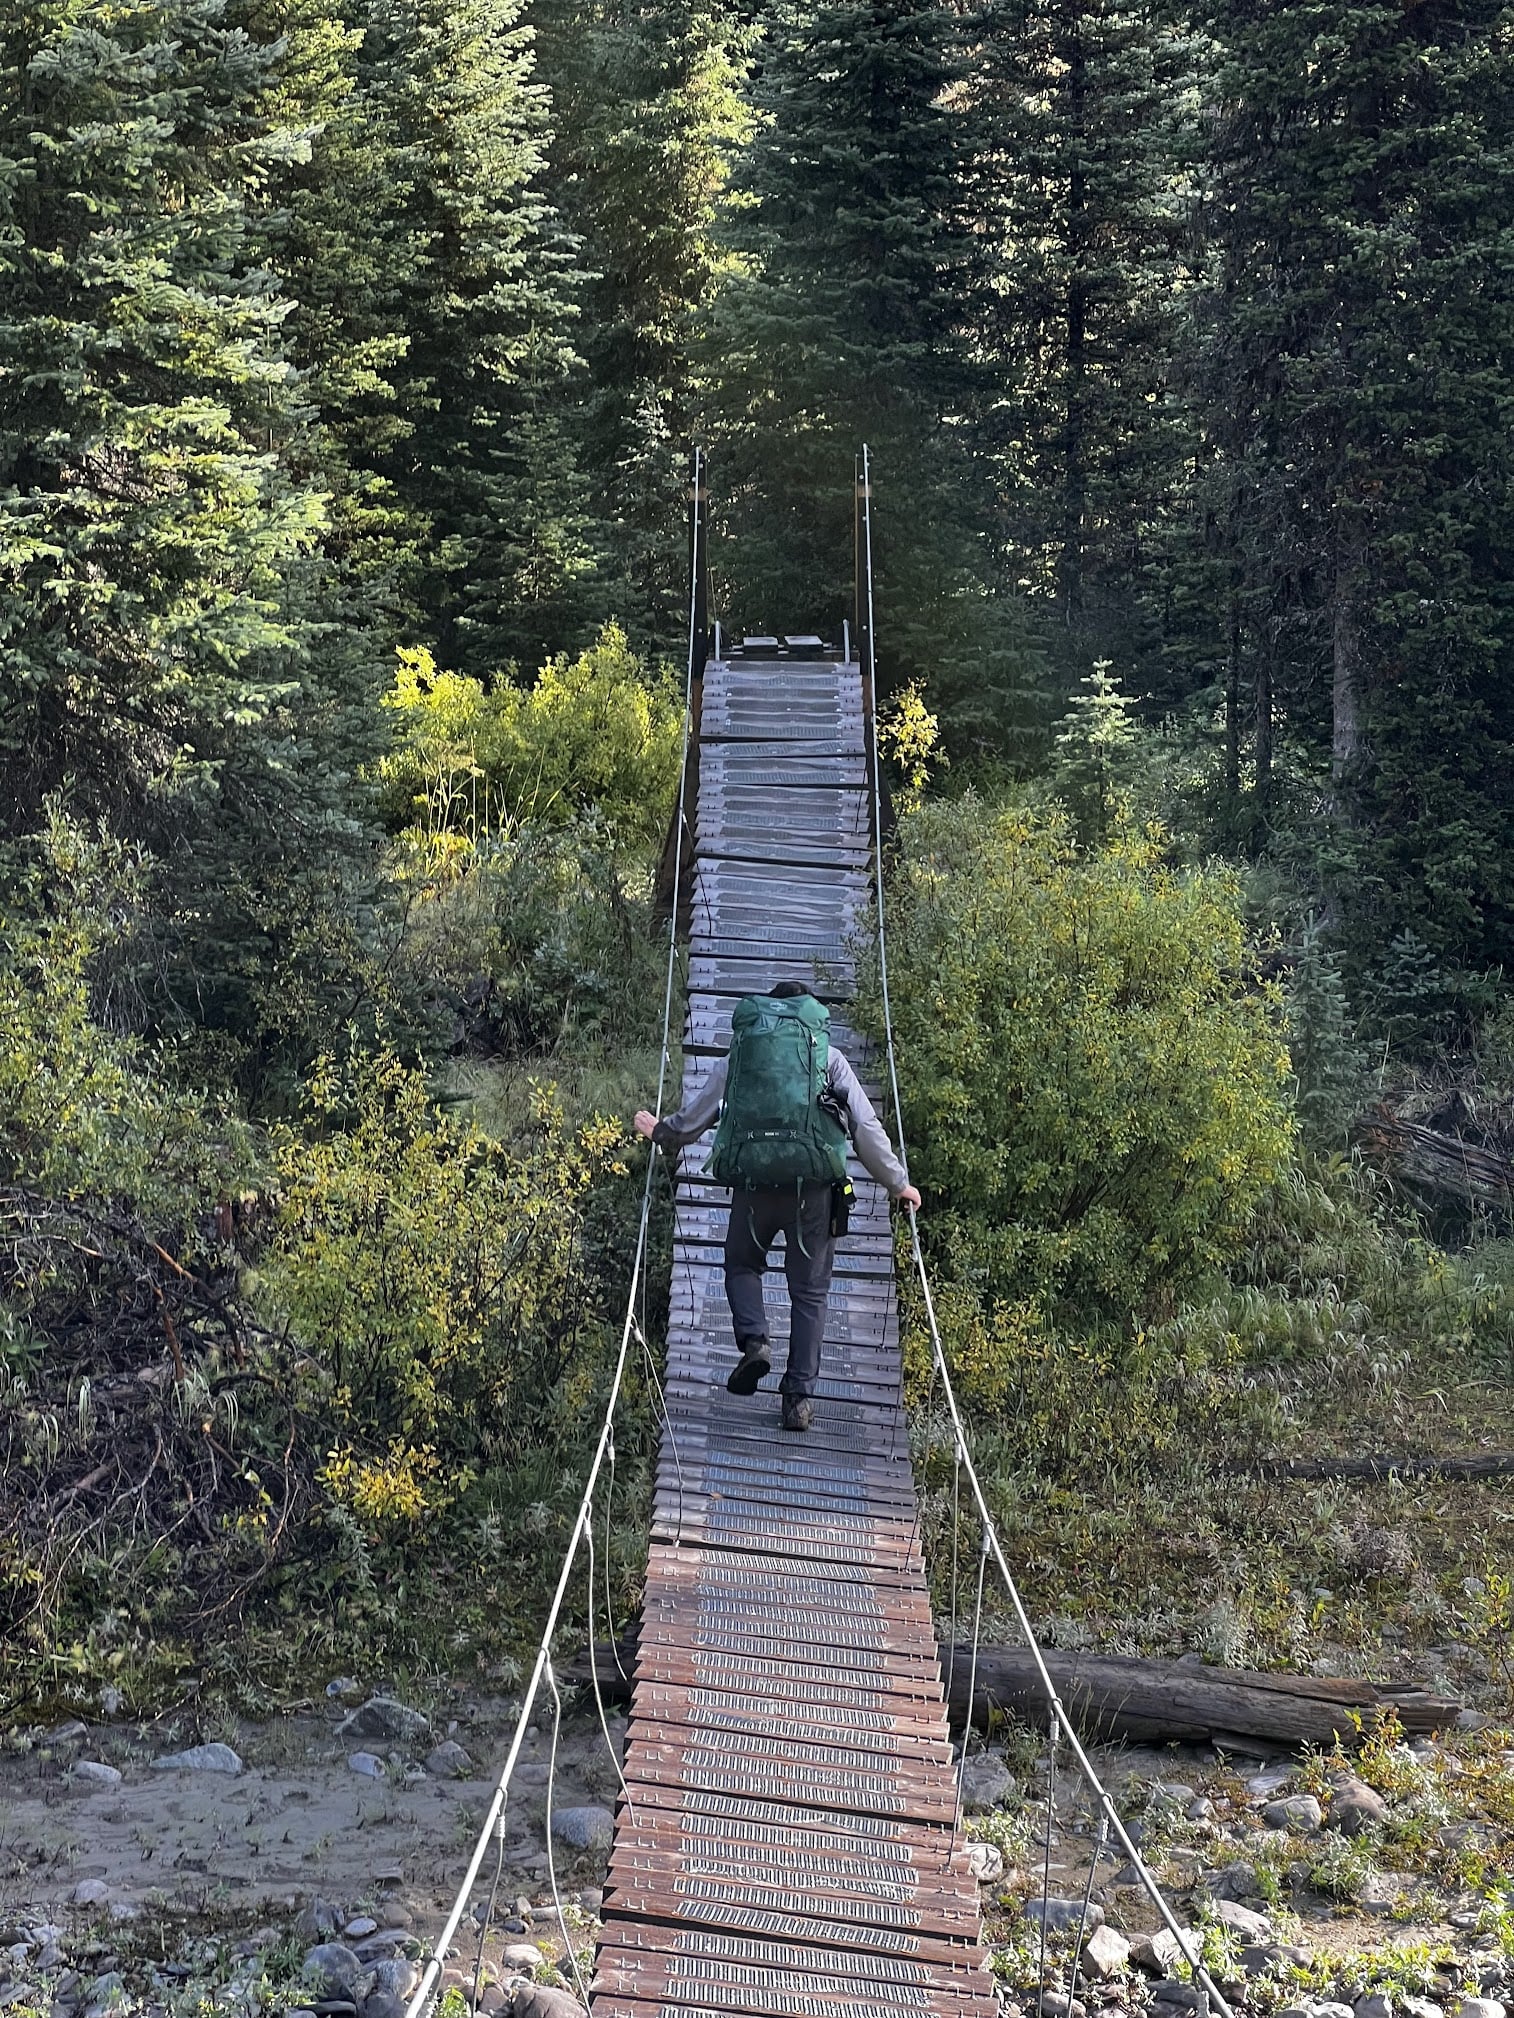
Things became a bit more interesting once we reached the junction with the Helmet Creek trail, we crossed a fairly long and slightly decrepit suspension bridge, and it was pretty fun to cross!
We quickly arrived at the Paint Pots area just minutes away from the parking lot, where we were joined by many day hikers to admire these interesting ochre coloured geological formations.

Back at the car, we drove to Radium Hot Springs for a well-deserved hot meal and ended our trip!